• UnderConstruction
  • Home
  • Seasons
  • Classes
  • Tours
  • About
  • CONTACT
  • Menus
Menu

Cucina Casa M

Street Address
City, State, Zip
Phone Number

Your Custom Text Here

Cucina Casa M

  • UnderConstruction
  • Home
  • Seasons
  • Classes
  • Tours
  • About
  • CONTACT
  • Menus

Shrimp Scampi with Pasta

February 20, 2020 Nancy Madok
shrimp:ingred.jpg

Ingredients

1 pound shrimp, peeled, and deveined
5T butter
2T olive oil
1 shallot, finely diced
5 cloves garlic, finely diced
½ cup white wine
1 tablespoon lemon zest
½ cup lemon juice
1 pound fresh pasta
2T chopped flat parsley
salt & pepper
chili flakes-optional

shrimp#1.jpg

1. With a paper towel pat dry the shrimp and season with salt and pepper.

2. In a large sauté pan, over medium heat, heat 2 tablespoons of the butter. Once melted, add the shrimp and cook until they start to turn pink about 2 minutes (they will be undercooked). Remove from pan place on a plate and set aside.

3. Heat the remaining 3 tablespoons of the butter and olive oil, and then add the shallot and sauté 1 minute. Add the garlic and sauté for 1 minute more. Add the wine and lemon juice and cook for 1-2 minutes.

shrimp#4.jpg

4. Add the shrimp back into the pan and toss in the sauce to finish cooking, about another 2-3 minutes.

shrimp#5.jpg

5. Meanwhile, bring a large pot of water to a boil. Add 1 tablespoon of salt. Add the pasta and cook the pasta until just al dente. Drain and reserve ½ cup of the cooking water. Add the cooked pasta to the pan with the shrimp.

shrimp#6a.jpg

6. Add the lemon zest, and parsley, tossing until well coated, adding a little of the pasta cooking water if needed to thin out the sauce. Season with salt, pepper and chili flakes. Serve immediately.

TIPS & TRICKS

• You can keep the shrimp whole or cut them into pieces, as you prefer. I used 16/20 shrimp, which means that there are 16-20 pieces per pound. I like to use shrimp from the Gulf of Mexico.
• Have your mise en place, a French culinary term that means “to put in place” prepped and ready to go before you start cooking since the cooking time is so short. In other words, have all your ingredients prepped and organized before you begin.
• The recipe calls for fresh pasta, which normally take just 3-4 minutes to cook. You can substitute dried pasta (cooking time 8-10mins); just start cooking the pasta before you start cooking the shrimp.
• You can also substitute the pasta for couscous, cauliflower rice or quinoa.
• You could add scallops when you sauté the shrimp. Or add capers, chopped olives, chopped tomatoes or basil to add different flavors to the dish.
• This recipe doubles easily.

DOWNLOAD SHRIMP SCAMPI RECIPE
In February 2020 Class Tags Main, Spring, entree, shrimp, butter, garlic, white wine, lemon, pasta, chili flakes, parsley
Comment

Lasagne Bolognese

January 29, 2020 Nancy Madok

Ingredients

Ragu:
1 large carrot
2 stalks celery
1 medium onion
4 oz. pancetta
2T olive oil
1 pound ground beef
1 cup red wine
2T double-concentrated tomato paste dissolved in 1cup warm water
1½ cups beef stock
salt & pepper

Besicamella:
8T butter
8T flour
4 cups milk, room temperature
1 tsp. salt
4-5 grinds fresh pepper
½ tsp. nutmeg
¼ cup Parmigiano-Reggiano cheese

Pasta:
1 pound fresh spinach pasta sheets
½ cup Parmigiano- Reggiano cheese

las#1.jpg

1. Ragu: In a food processor, finely chop the onion, carrots and celery. Set aside.

2. Now in the food processer (no need to wash from Step 1), finely chop the pancetta until it resembles ground pork.

3. In a medium sauce pot or Dutch oven over medium heat, add the olive oil; when warm, add the pancetta and cook about 4 minutes until some of the fat starts to render out. Add the vegetables and cook an additional 4-6 minutes until vegetables are soft.

4. Increase the heat to medium-high and add the ground beef; using a spoon, break the meat up into small pieces. Continue stirring and breaking the meat into very small pieces until the meat has cooked evenly, about 5 minutes.

las#5a.jpg

5. Stir in the red wine and cook about 2 minutes; add the diluted tomato paste and reduce the heat to a simmer. Every few minutes, give the sauce a stir and add a little of the beef stock so that the sauce stays moist. Cook the sauce for 1-1½ hours until most of the liquid has evaporated. Season with salt and pepper. Set aside until ready to use.

6. Besicamella Sauce: In a medium saucepan over low heat, melt the butter; add the flour and stir constantly. Cook until light brown and smells like toast, approximately 2-3 minutes.

las#7.jpg

7. Add the milk while stirring. Turn the heat to medium-high and cook until slightly thick, ( it should just coat a wooden spoon) approximately another 4-6 minutes.

8. Season with nutmeg, cheese, salt and pepper.

9. Pasta: Bring a large pot of water to a boil. Season with 1 tablespoon of salt. Working in batches, blanch a few noodles at a time for 1-2 minutes. Place the cooked noodles into a bowl of ice water to stop the cooking. Remove the noodles from ice bath and place on a single layer on a kitchen towel.

10. Assembly: In an 8x10-inch baking dish, cover the bottom of the pan with thin layer of the besicamella then top with a layer of pasta sheets. Spread 2-3 spoons of the Besicamella on top of the pasta, then add 2-3 spoons of the ragú into a thin layer all over the pasta. Top with a handful of cheese.

11. Continue layering the pasta, besicamella, ragú, and cheese ending with pasta sheet on top. Spread with a little béchamel and sprinkle of cheese.

12. When ready to serve, preheat an oven to 350° F. Cover the lasagna with foil and bake for 20 minutes, remove the foil and bake another 20 minutes until hot and slightly golden brown.

13. Allow to sit 5-10 minutes before cutting into squares and serving.

TIPS & TRICKS

• I like using a 8 X10 lasagne pan because you end up with 6 or 7 layers of pasta and sauce. But if you can use any size baking dish. You will just need to cut the pasta noodles to fit the size pan and may end up with less layers
• Ragú can be doubled and frozen. It can be also served with tagliatelle pasta noodles.
• Sauces can be made a day or 2 ahead and reheated over low heat before assembling. If the sauces get to thick, thin the besicamella out with a little milk and the ragú with little stock, then blanch the pasta noodles & assemble the lasagne.
• Traditionally this dish is made with green/ spinach pasta noodles but you can use just plain egg pasta.
• Uncooked lasagna can be made 2 days ahead and refrigerated. Before serving remove from the fridge at least an hour to get up to room temperature.
• You can also freeze the uncooked lasagna. Remove from the freezer and allow to defrost in the fridge over night.

DOWNLOAD LASAGNE BOLOGNESE RECIPE
In January 2020 Class Tags main, entree, winter, carrot, celery, Pancetta, ground beef, Red Wine, beef stock, nutmeg, Parmigiano-Reggiano cheese, Spinach Pasta
Comment

Standing Rib Roast of Beef

December 17, 2018 Nancy Madok
IMG_3534.jpeg
meat:horseradish1.jpg

Ingredients

8 cloves garlic, crushed
2 tsp. dried thyme
2T salt
2T cracked black pepper
4 cups beef stock
one 4 -5 bone standing rib roast (about 10-12 pounds total)
1 cup heavy whipping cream
1 jar prepared horseradish

1. Preheat oven to 450° F.

meat2.jpg
meat2a.jpg
meat2b.jpg

2. In a small bowl, combine the garlic, thyme, salt, and pepper to create a coarse paste. Rub the paste all over the roast. Let sit 1 hour at room temperature.

meat3.jpg

3. Place the roast on a rack of a roasting pan bones faced down. Pour stock into bottom of pan and place in 450° F oven for 15 minutes.

meat4.jpg

4. After 15 minutes, turn the oven down to 350° F. DO NOT OPEN DOOR. Continue to cook the roast about another 1 hour and 45 minutes, then check the internal temperature. It should be 115-120º F deep in the center of the roast. If not, return the roast to the oven and continue roasting, checking every 15 minutes until your reach temperature.

5. Remove roast from pan and place on a platter; tent loosely with foil and let rest at least 30 minutes.

meat6.jpg

6. Pour the pan drippings from the roasting pan into a fat separator. Pour de-fatted drippings into a gravy boat to serve with the roast, retaining the fat in the separator for use in preparation of the Yorkshire pudding.

meat7.jpg
meat7a.jpg

7. To carve the roast set it on its side. Using a knife, cut along the bones to separate them from the meat. Slice in between the ribs; place the ribs on the platter. Place the meat fat side up on the cutting board and slice into slices, Place the slices on the platter and serve with au jus (dripping), whipped horseradish cream and Yorkshire pudding.

meat:horseradish1.jpg
meat:horseradish1a.jpg

Horseradish Cream

1. In a bowl with a whisk attachment, beat the heavy cream until soft peaks are formed. Fold in 4 tablespoons of horseradish. Give it a taste; if you want it spicier, add an additional tablespoon at a time until desired spiciness is achieve.

TIPS & TRICKS

• If you can rub the paste all over the roast 1-4 days before cooking and place on a rack uncovered in your fridge, it will improve the flavor of the meat and also develop a more beautiful crusty brown exterior.

• By cooking the roast to 115-120° F in the oven and then letting it rest, the internal temperature will continue to rise. We call this “carry over cooking”. It will bring the internal temperature to 125-130° F which will give you a rare center and a mostly medium rare roast. If you want it a little more done, cook it to 125-130° F in the oven, which will give you a more medium roast.

DOWNLOAD RIB ROAST OF BEEF RECIPE
In December 2018 Class Tags Winter, Christmas, Holiday, Rib Roast, Beef, Main, entree
Comment

Chicken with Fennel, Tomatoes & Olives

August 21, 2018 Nancy Madok
chix:cover.jpg

Ingredients

2 medium onions
2 tsp each: sea salt and black pepper
2T fennel seeds
2T olive oil
1 chicken, about 4-5 pounds
1 lemon cut in half
several sprigs fresh herbs (oregano or thyme)
2-3 cups white wine
1 cup pitted black olives
1-2 tomatoes, diced
3T fresh basil, torn into bite size piece


1.    Preheat oven to 425º F.

2.    Peel and slice the onions into slices, then line the bottom of a 9x12 baking pan. Set aside. 


chix3.jpg

3.    In a small bowl combine the salt, pepper and fennel seeds together.

chix4.jpg

4.    Wash and pat dry the chicken. Place on work surface. Rub outside of bird with olive oil; use your fingers to separate the skin from the breast meat.

chix5a.jpg

5.    Rub the fennel mixture underneath the skin and all over the bird.      Place the lemon and herb sprigs inside bird.


chix6.jpg

6.    Use a piece of kitchen twine to tie the legs together.


7.    Place the chicken on top of the sliced onions. Pour 1 ½-2 cups of the wine alongside the bird.  

8.    Cover the pan on 3 sides with aluminum foil.  Place the covered chicken in a 425°F oven for 1 hour.


9.    After an hour, remove the foil, add the olives  (add the remaining wine if it has evaporated) and cook an additional 30 minutes more until golden brown and the internal temperature is 170° F.


10.    Remove from the oven carefully tip the leg end of the chicken into the pan allowing any juices that have collected to run into the pan.  Transfer to a platter and let rest for at least 15 minutes.

11.    Pour the drippings into a fat separator; leave the onions, and olives in the pan. Allow the drippings to sit until the fat has risen to the top.  Place the sauce in a small saucepan on the high heat and cook until the sauce has reduced slightly for about 3-4 minutes.

chix12.jpg

12.    Spoon the onion and olives onto a serving platter.

chix13.jpg
chix13b.jpg
chix13c.jpg

13.    Carve the chicken into pieces: The first cut remove the whole leg and thigh from the body. Then cut the leg from the thigh. Cut the wing from the breast. Cut along the breastbone to separate the meat from the bone. I like to cut each breast into 2 pieces. Place the pieces on top of onions, and olives.


chix14.jpg

14.    Spoon the sauce over the chicken.

15.    Sprinkle the diced tomato and basil on top and serve warm. 

TIPS & TRICKS

•    Try to buy olives that have their pits in them. This keeps the olive’s flesh firm and not mushy. To remove the pit, using the side of your knife, gently press down on the olive. The olive should squish and the pit should be easy to remove. I wear a plastic glove to remove the pits as to not get my fingernails black. 
•    I used black cured olives, but you could use green or kalamata
•    To test doneness, place the thermometer deep in the leg/thigh area. The internal temperature should be 170° F; as it sits it will “carry over cook” 5-10 degrees. 
•    I leave the skin on the breast meat but remove the skin from the thigh meat because it doesn’t get very crispy. 
•    The baking dish looks really messy and dirty, but it cleans up really quickly. 
•    You could substitute chicken pieces for the whole chicken. Bone-in thighs and leg should cook in about 1 hr. 20 minutes for an internal temperature of 170° F. Bone in breast meat internal temperature of 160° F, or about an hour. Check for doneness with the thermometer. Cooking meat with the bone adds so much more flavor than boneless. 
•    This dish doubles easily, you can use a bigger baking dish/roasting pan or two small ones.  It makes great leftovers and is perfect for entraining because it is delicious served warm.  


In August 2018 Tags Summer, entree, Fennel, Tomatoes, Olives, White Wine, Black Olives
Comment

Marinated Grilled Leg of Lamb

May 20, 2018 Nancy Madok
lamb cover.jpg

Ingredients

1 4- pound boneless leg of lamb, butterflied*
Rub:
3 cloves garlic, peeled
1 cup loosely packed parsley leaves
4T fresh thyme leaves or rosemary
3T olive oil
salt & pepper

Pistou:
3 cloves garlic, peeled
1 cup loosely packed parsley leaves
3 cups basil leaves
½ cup olive oil
salt & pepper

lamb1.jpg
lamb1a.jpg
lamb1b.jpg

1.    *You can ask your butcher to butterfly the boneless leg of lamb for you or you can do it yourself by placing the leg of lamb on a cutting board, using a boning knife to “butterfly” the thickest part of the leg areas so that the overall thickness of the meat is 1 – 1½” thick. If necessary, trim any large pieces of fat off the meat. I then cut the leg into 2 pieces so that it is easier to handle. Set aside.

lamb2a.jpg

2.    In a bowl of your food processor, while running, add the garlic and process until chopped.  Add the parley and herbs; pulse until chopped. Add the olive oil and pulse until combined.


3.    Spread the rub all over the lamb. Place in a ziplock bag or sealed container. Refrigerate overnight.

4.    Approximately 1 ½ hour before want to serve the lamb, Remove the meat from the bag or container, place on a platter and let sit on your counter for 30 minutes. Preheat your BBQ grill. 

5.    Right before grilling, pat the meat dry using paper towels dry. Season with salt and pepper.

6.    Place the meat fat side up on the grill over “medium-high” heat. Let the meat achieve a nice sear before flipping it over, about 6 minutes.


7.    Flip to the other side. You may need to occasionally flip or turn the meat over if the fat should catch on fire and flare up.

9.    Remove from grill and place on platter. Cover loosely with aluminum foil. Let it rest for 15-20 minutes.

8.    Continue cooking until the thermometer reads 125º-130º F for medium rare, about and additional 10-15 minutes, depending on the thickness of the meat and the temperature of your grill.

lamb10a.jpg

10.    Slice the lamb against the grain i.e. with the knife slicing perpendicular to the direction of the grain in the meat.

lamb11.jpg

11.    Place the sliced meat on a platter, and serve with pistou sauce. 


lamb12.jpg

12.    Pistou: In a bowl of your food processor, while running, add the garlic. Process until chopped, add the parsley and basil, and pulse until finely chopped.

lamb13.jpg

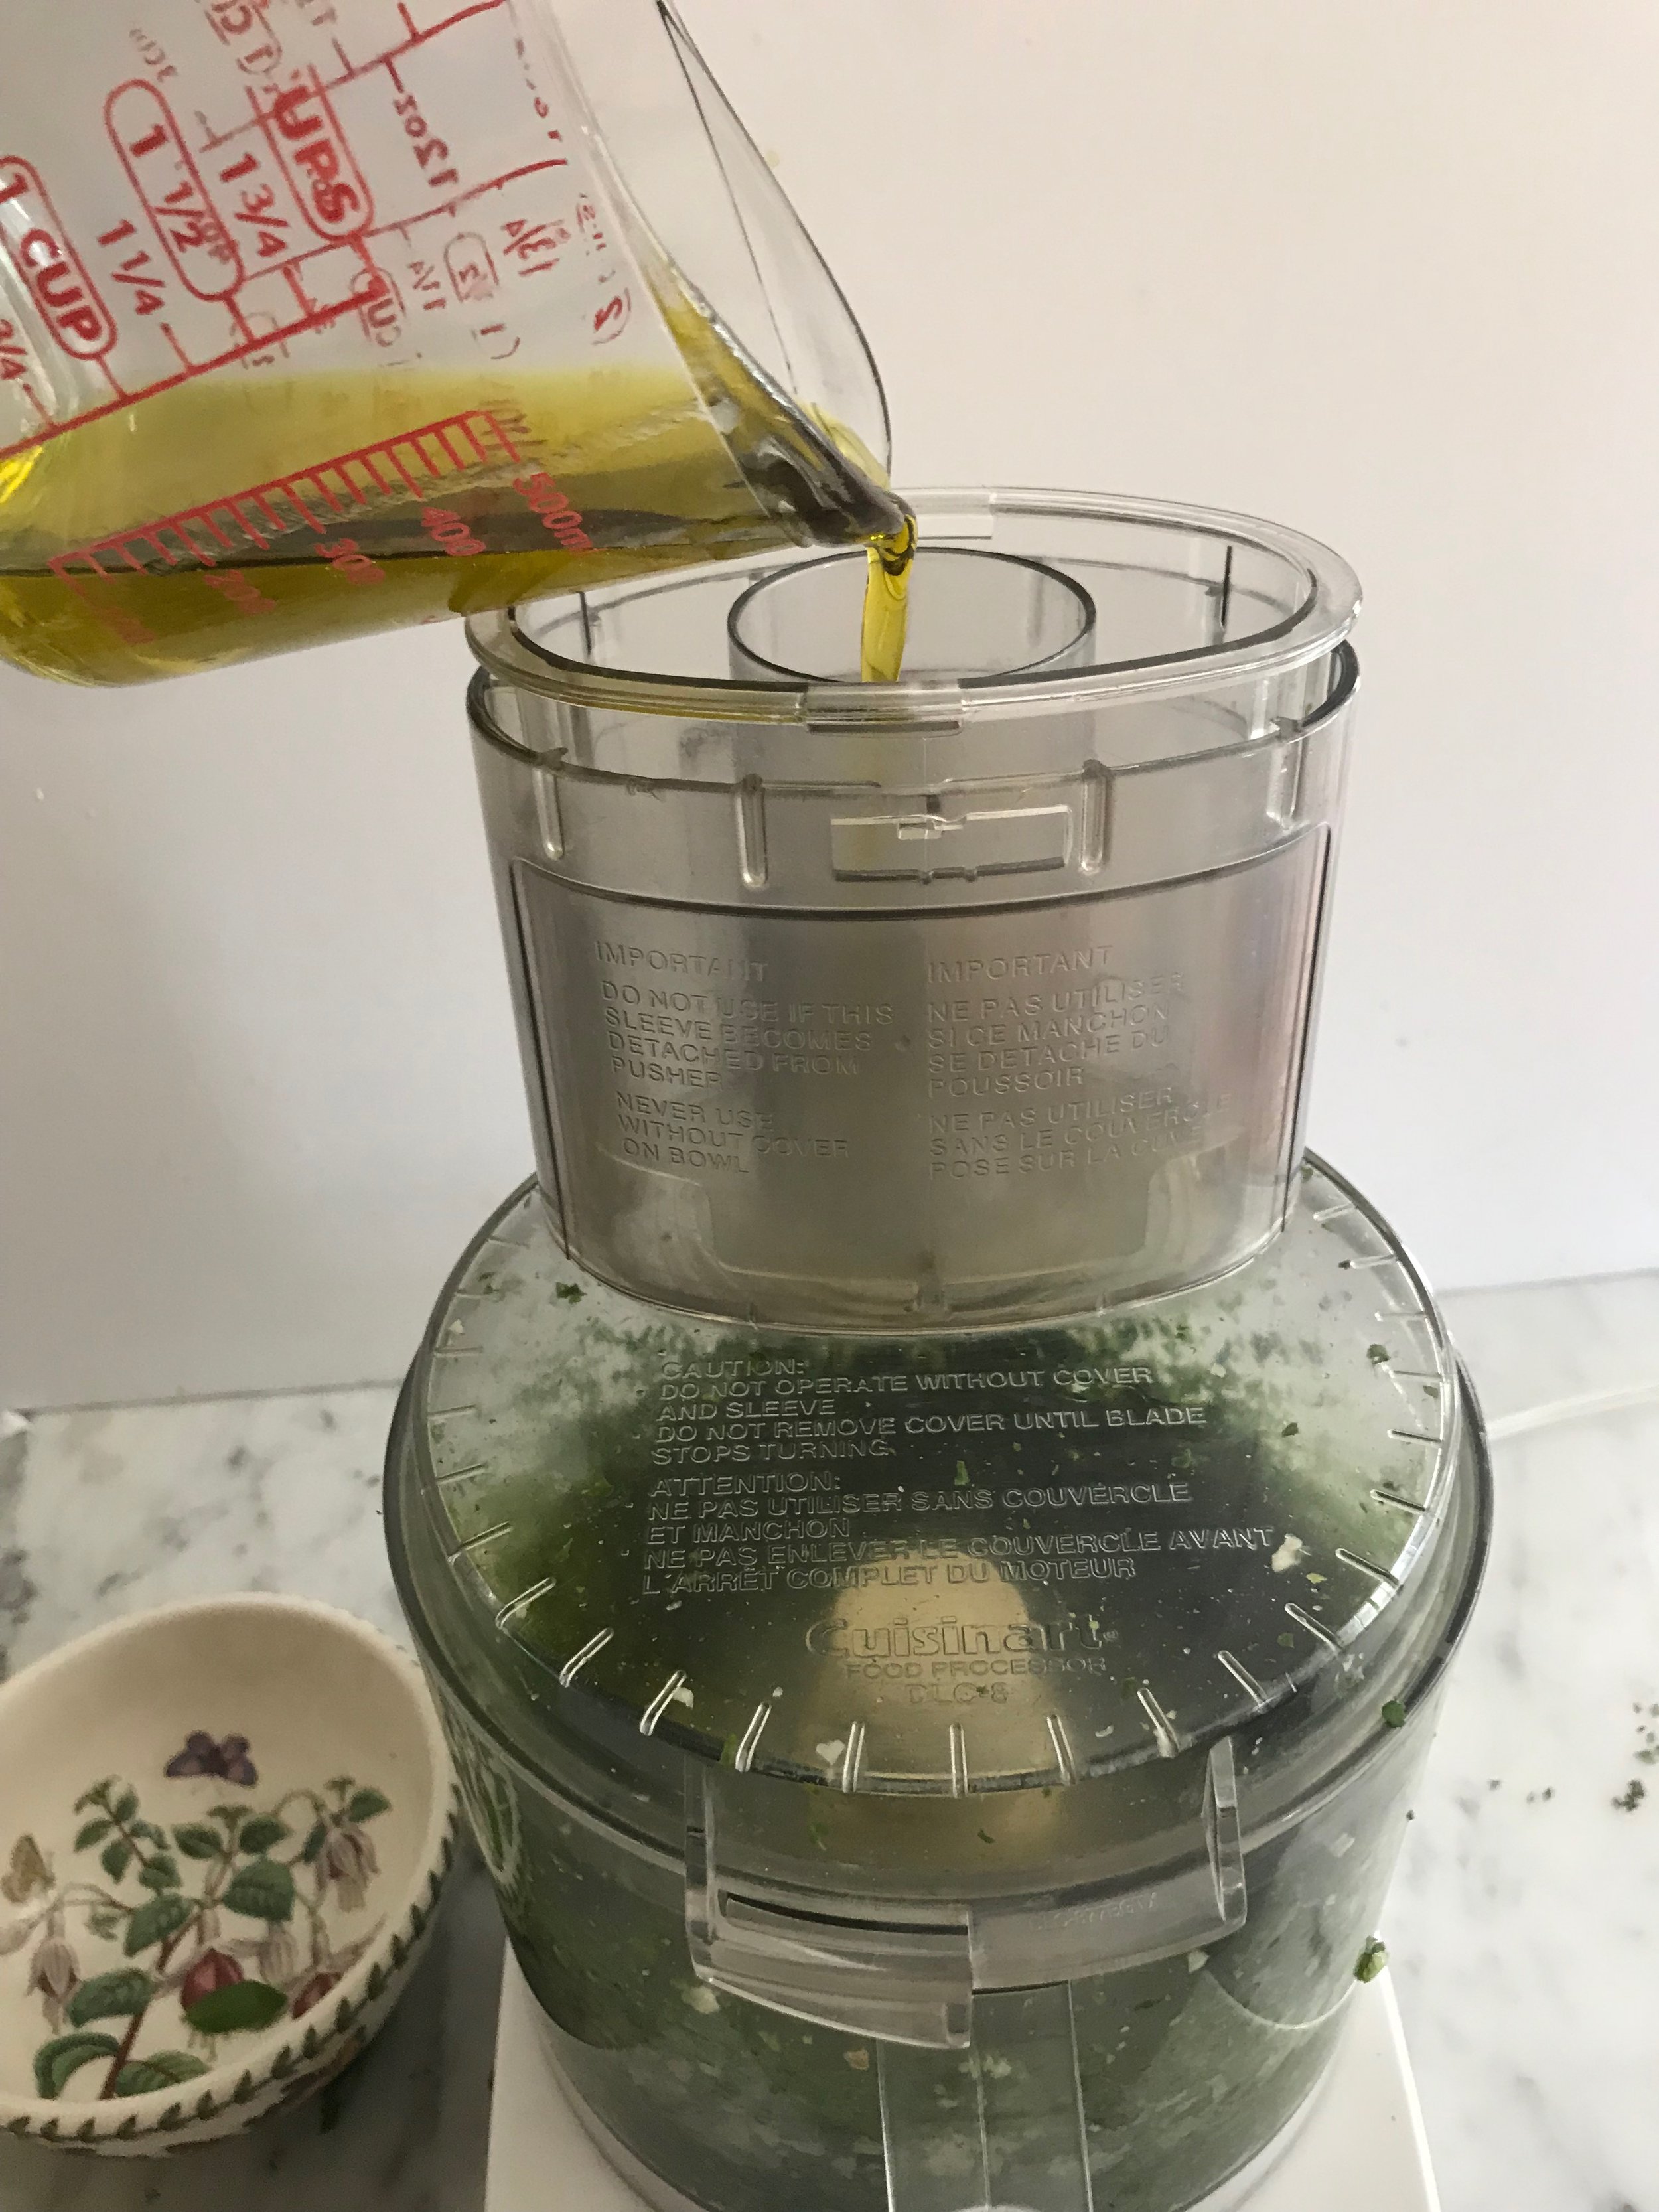
13.    Add the olive oil, pulse until smooth, season with salt and pepper. This sauce can be made 4 days ahead, but remove from refrigerator a hour before serving. 


TIPS & TRICKS

•    If you have the lamb butterflied by the butcher, make sure to ask to have it cut so that the overall thickness of the meat is 1- 1½ inches, this will make the cooking process much easier and insure that the meat is cooked evenly.
•    You can make the pistou directly after you make the rub, so that you don’t have to wash the food processor twice.
•    Left over grilled lamb makes the most fantastic sandwiches or tacos!

In May 2018 Class Tags Summer, Lamb, entree, main, rosemary
Comment

Perfectly Roasted Turkey

November 21, 2017 Nancy Madok
turkey16.jpg

Ingredients

1 14-16 pound turkey
1T dried sage
2 tsp. salt
1 tsp. black pepper

3 slices bacon, cut in half
fresh thyme & sage leaves
olive oil
3 cups chicken stock

1.    Preheat oven to 425° F.

turkey2.jpg

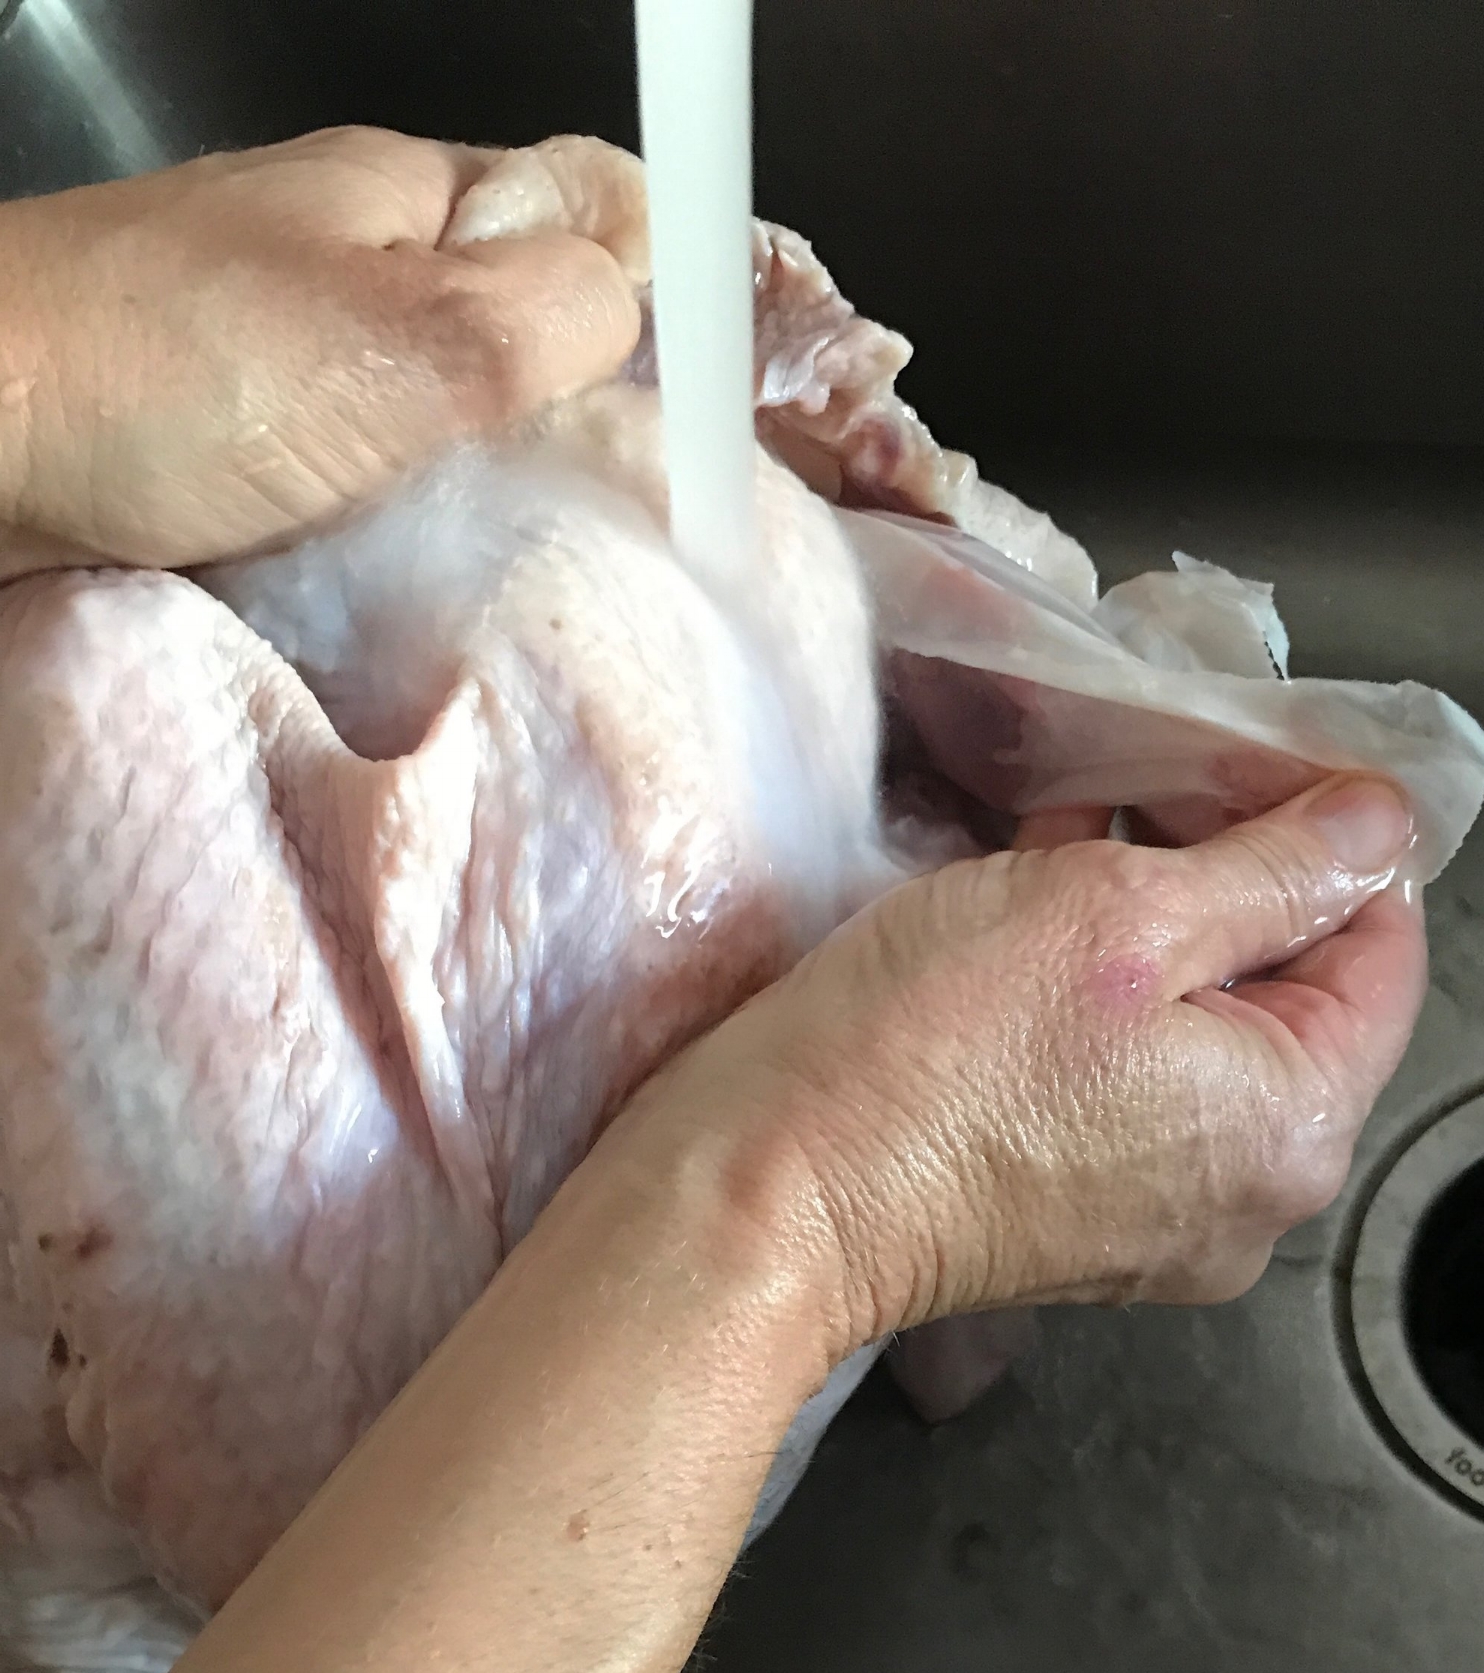
2.    Wash the turkey inside and out, removing the little bag of goodies.
 

turkey3.jpg

3.    Pat the turkey dry.
4.    In a small bowl, combine the dry sage, salt and pepper
 

turkey5.jpg

5.    Using your fingers, separate the skin from the breast meat. Sprinkle with salt and pepper. Place 3 half slices of bacon, thyme, and sage leaves under the skin of each breast.
 

turkey6.jpg
turkey6a.jpg

6.    Rub the bird with olive oil, then rub with sage, salt and pepper mixture.
7.    Let stand on the counter for 1 hour.

8.    Stuff the cavity of the turkey with stuffing, not too stuffed.

9.    Place the stuffed turkey on the rack in a roasting pan, and then pour the stock into the pan.

10.    Place uncovered turkey in a preheated 425º F oven for 30 minutes. After 30 minutes, cover the roasting pan with foil. Using potholders, crimp and press the foil into the edges of the pan making a tight seal and return to oven and reduce the heat to 350º F and continue roasting for 3½ more hours.

turkey11.jpg

11.    Check the internal temperature; it should be 160-165º F deep in breast.  If it is not 165º F, recover with the foil and continue cooking, checking every 30 minutes until the internal temperature reaches 160-165º F.
 

turkey13.jpg

12.    Remove foil; baste with pan drippings, and brown an additional 5-10 minutes. Remove from the oven.

13.    Rest the turkey at least 30 minutes before carving.

14.    To carve the turkey use a carving knife remove the leg and thigh. Then separate the leg from the thigh. Remove the meat from the bones and slice into chunks and place on platter. Repeat with other leg. 

15.    Remove the wings.

16.    Cut down the breastbone to remove the breast meat from the bone. Remove the bacon and herbs from under the skin. Slice into chunks and place on platter. Repeat with other side. Enjoy!

TIPS & TRICKS

•    I wash the turkey (step #2) the night before and then place it in a clean garbage bag. 
•    On Thanksgiving Day 6 hours before serving I take the turkey out of the refrigerator and start the recipe from step #3. This allows the turkey to sit an hour on the counter. Then it gives the bird 4 hours to roast. That leaves an additional hour to spare in case it needs longer roasting time and time to rest before carving.
•    The cooked turkey can sit up 1½ hour before carving. The meat will still be warm. Serve with plenty of hot gravy.


In Nov 2017 Thanksgiving Tags Winter, Turkey, entree, Main
Comment

Garlic & Herb Marinated Steak with Tomato Relish

May 2, 2017 Nancy Madok
steakcoverjpg.jpg
Garlic___Herb_Marinated_Steak_with_Tomato_Relish_—_Cucina_Casa_M.jpg

Ingredients

Ingredients Steak:
3 cloves garlic, crushed
2T Herbs d’ Provence
1T salt
1T ground pepper
2T olive oil
3 pounds flap meat 

Ingredients Tomato Relish:
1½ pound (2cups) cherry tomatoes, cut into bite-sized pieces
2 shallots sliced thinly
6T oil-packed sun dried tomatoes drained, chopped (reserved 3T of the oil)
2T capers
4T fresh basil leaves, julienne
3T red wine vinegar
salt & pepper

steak3.jpg

In a small bowl, mix the garlic, herbs, salt, pepper and oil. 

steak4.jpg

Rub this spice mixture all over steak and allow the meat to sit at least 30 minutes at room temperature.  The rub can be placed on the meat and refrigerated ahead, but no more than 4 hours.

steak7.jpg

About 20 minutes before you are ready to grill, turn on the grill to heat to your grilling temperature, usually “medium-high” or the setting that gives you a good sear when the meat hits the steel grating.

steak8.jpg

Grill the meat until medium rare, 3-5 minutes a side, or until internal temperature is 130 - 135°F.  Transfer steak to a platter and let rest for 5-10 minutes.

steak9.jpg

Slice the steak against the grain and serve with relish.

steak5.jpg

In a medium bowl, toss all the ingredients together.

steak6jpg.jpg

Season well with salt and pepper and let sit at room temperature for a least 30 minutes.  Serve with grilled meat. Will keep in refrigerator for 3 days. 


Tip & Tricks

•    Flap meat is a terrible name for a delicious cut of meat. It comes from the sirloin section of the animal. The French call this cut bavette which means “bib” because of the shape of the meat which is long and skinny like a bib. When preparing your meat cut it into manageable size pieces that will be easy to grill.The texture and taste are very similar to a skirt steak but usually cost less. 
•    Marinated meat can be placed in a zip lock bag and refrigerated up to 4 hrs. before cooking, no longer or meat fibers will start to break down and get soggy. Before grilling remove the meat from the bag using paper towels blot the meat to remove any moisture that has accumulated. This will insure you get a nice sear on the meat. 

print recipe
Garlic & Herb Marinated Steak with Tomato Relish
by Nancy Madok June-28-2017
Garlic and Herb Marinated Steak cook on the Grill to sweet perfection. Topped with a Tomato Relish
Ingredients
  • 3 Garlic Cloves Crushed
  • 2 Tbsp Herbs d' Provence
  • 1 Tbsp Salt
  • 1 Tbsp Ground Pepper
  • 2 Tbsp Olive Oil
  • 3 Pounds Flap Meat
  • Tomato Relish
  • 2 Cups Cherry Tomatoes, cut into bite sized pieces
  • 2 Shallots - cut thinly
  • 6 Tbsp Oil Packed Sun dried tomatoes drained, chopped (reserved 3T of the oil)
  • 2 Tbsp Capers
  • 4 Tbsp Fresh Basil Leaves, julienne
  • 3 Tbsp Red wine vinegar
  • Salt and Pepper
Instructions
1. In a small bowl, mix the garlic, herbs, salt, pepper and oil. Rub this spice mixture all over steak and allow the meat to sit at least 30 minutes at room temperature. The rub can be placed on the meat and refrigerated ahead, but no more than 4 hours. 2. About 20 minutes before you are ready to grill, turn on the grill to heat to your grilling temperature, usually “medium-high” or the setting that gives you a good sear when the meat hits the steel grating. 3. Grill the meat until medium rare, 3-5 minutes a side, or until internal temperature is 130 - 135°F. Transfer steak to a platter and let rest for 5-10 minutes. 4. Slice the steak against the grain and serve with relish. Tip & Tricks • Flap meat is a terrible name for a delicious cut of meat. It comes from the sirloin section of the animal. The French call this cut bavette which means “bib” because of the shape of the meat which is long and skinny like a bib. When preparing your meat cut it into manageable size pieces that will be easy to grill.The texture and taste are very similar to a skirt steak but usually cost less. Marinated meat can be placed in a zip lock bag and refrigerated up to 4 hrs. before cooking, no longer or meat fibers will start to break down and get soggy. Before grilling remove the meat from the bag using paper towels blot the meat to remove any moisture that has accumulated. This will insure you get a nice sear on the meat. Prep for Tomato Relish:1. In a medium bowl, toss all the ingredients together. 2. Season well with salt and pepper and let sit at room temperature for a least 30 minutes. Serve with grilled meat. Will keep in refrigerator for 3 days.
Details
Prep time: 30 mins Cook time: 10 mins Total time: 40 mins Yield: 8 Servings
Featured
Stuffed Summer Vegetables
Garlic & Herb Marinated Steak with Tomato Relish
Chocolate Chip Pavlova
In May 17th Grill Class Tags entree, steak, tomato, bbq, grill, main, May 17th Grill Class, Summer, sun-dried tomatoes, tomato relish
Comment

PRIVACY POLICY 2020

COPYRIGHT 2020 Cucina Casa M