

Ingredients
Dough:
1 package active yeast
1½ cup very warm water (110° F)
4 cups all-purpose flour
1½ tsp salt
2T olive oil
1T fresh rosemary, finely chopped
1T fresh thyme, finely chopped
½ cup Parmigiano-Reggiano cheese
½ cup olive oil
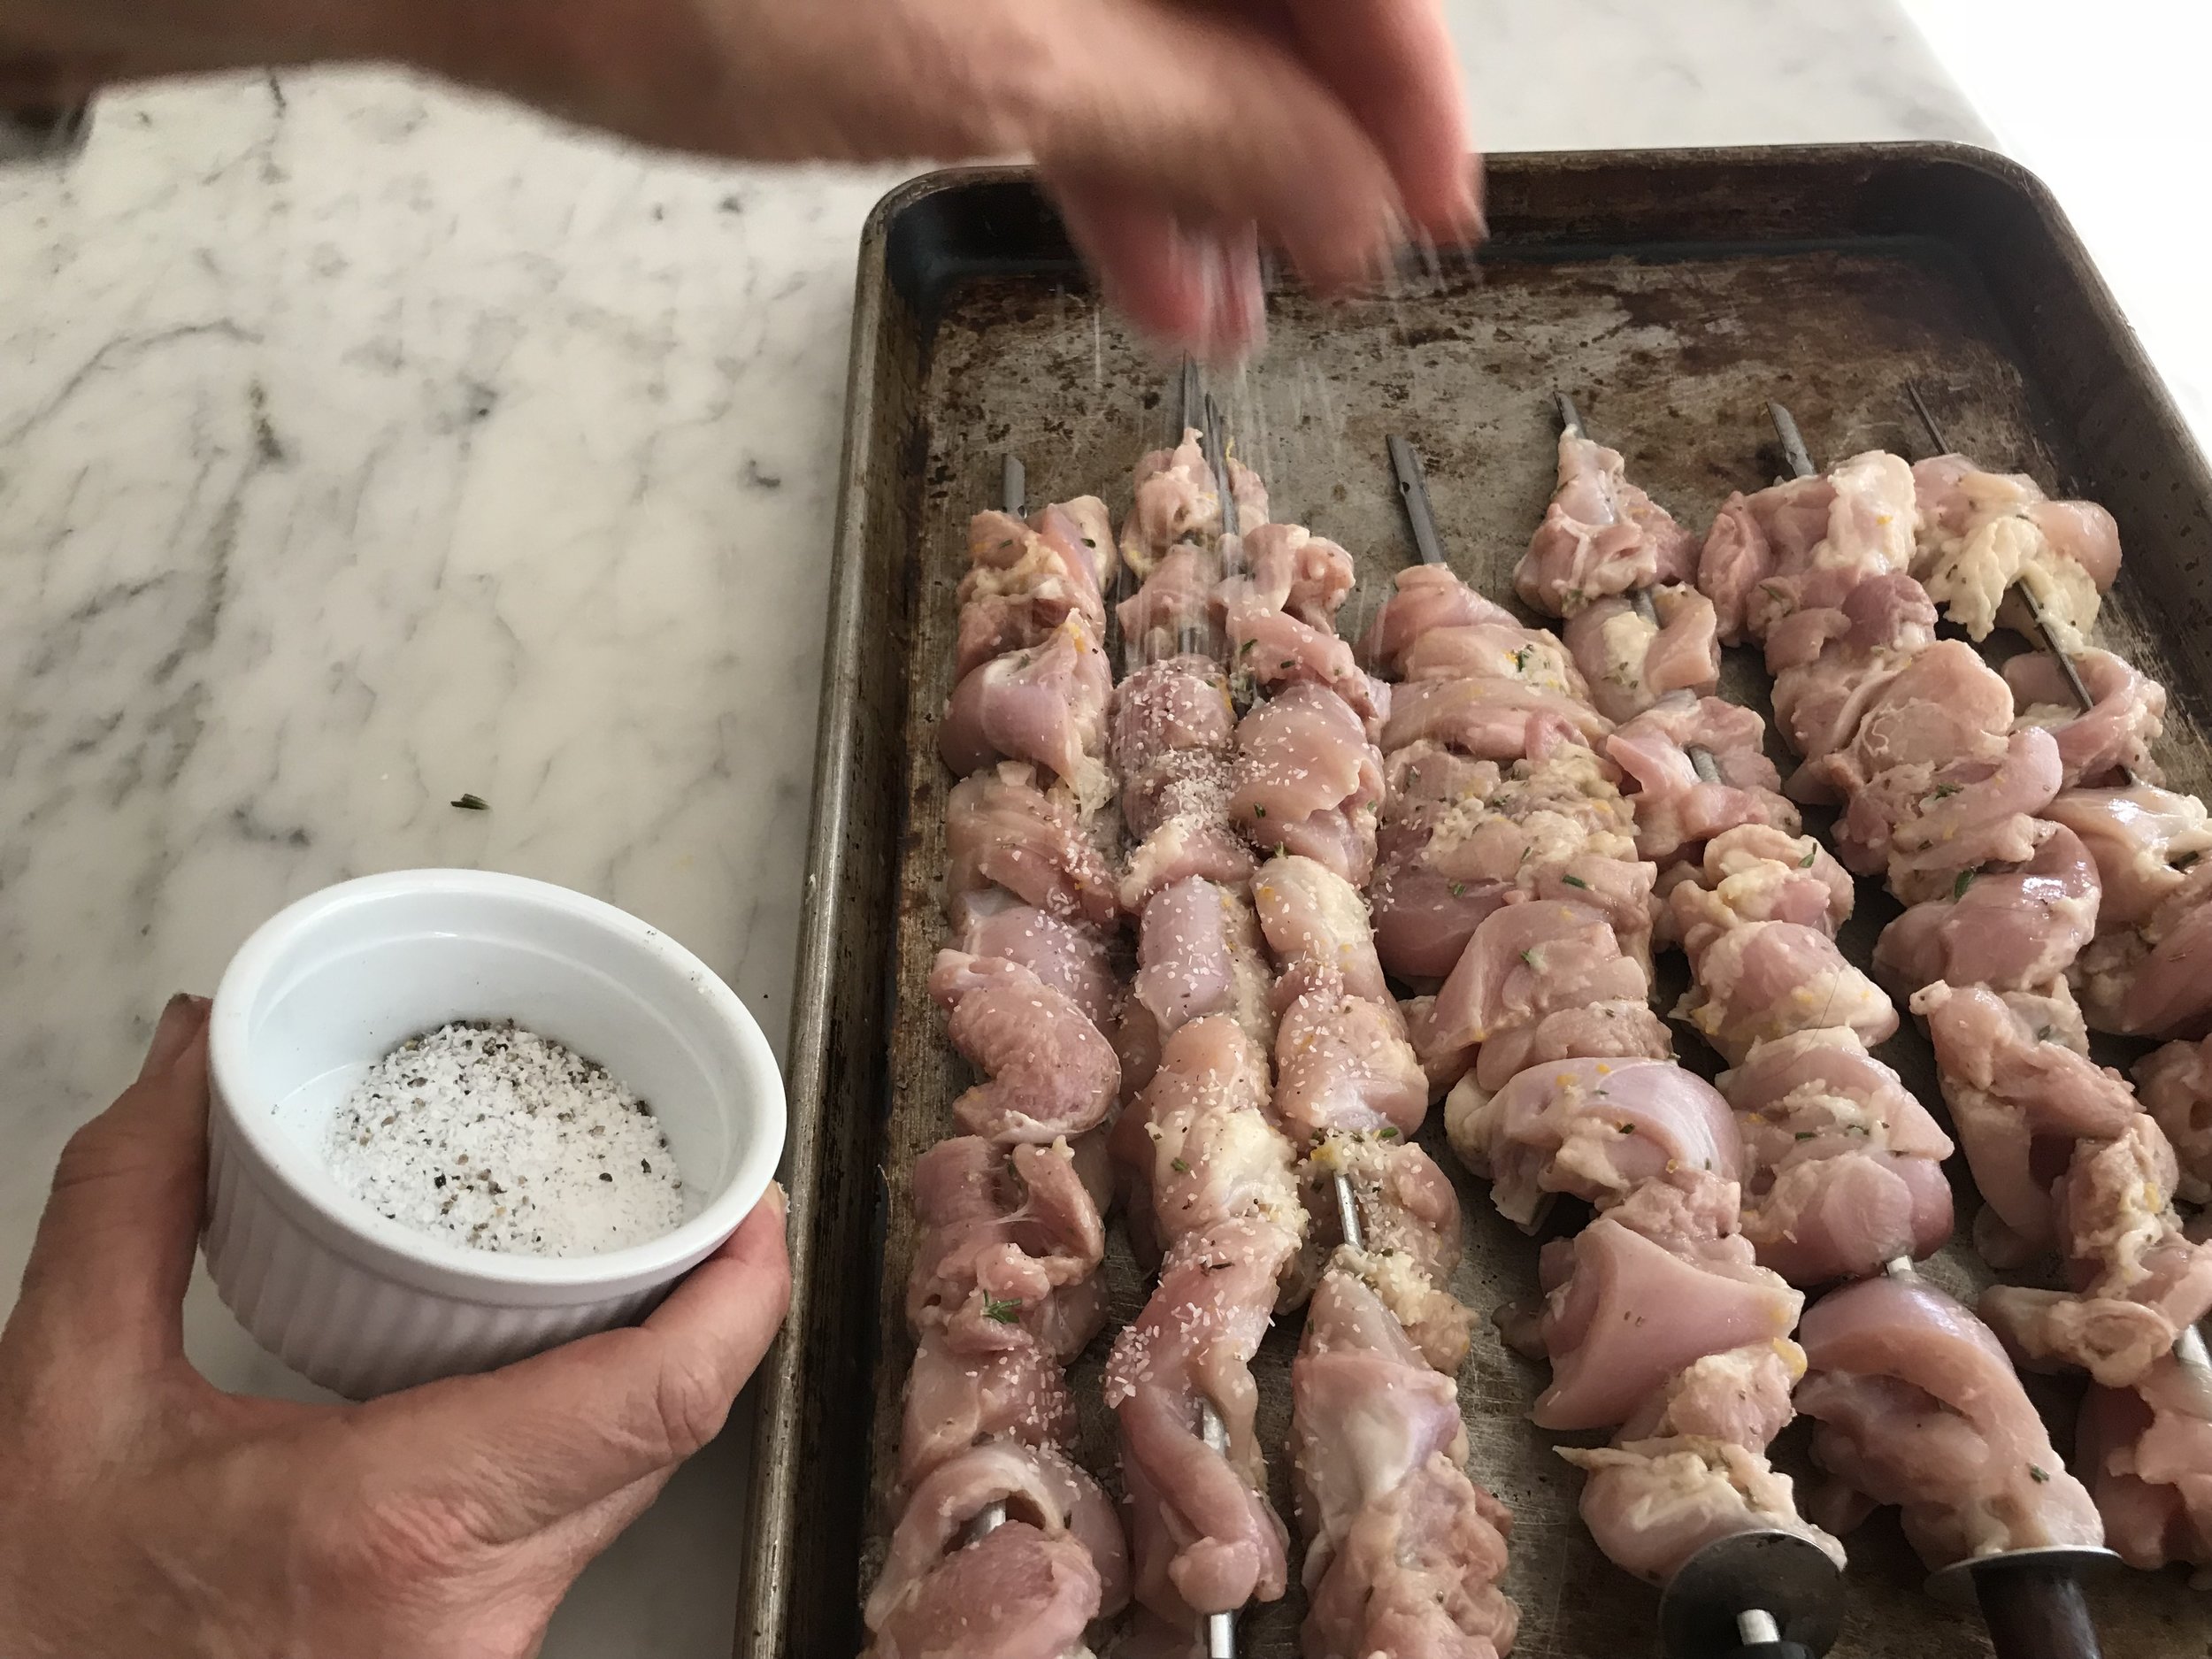
Salt
1. Preheat oven to 400° F.
2. Place the flour and salt in the bowl of a food processor and pulse a few times to mix together.

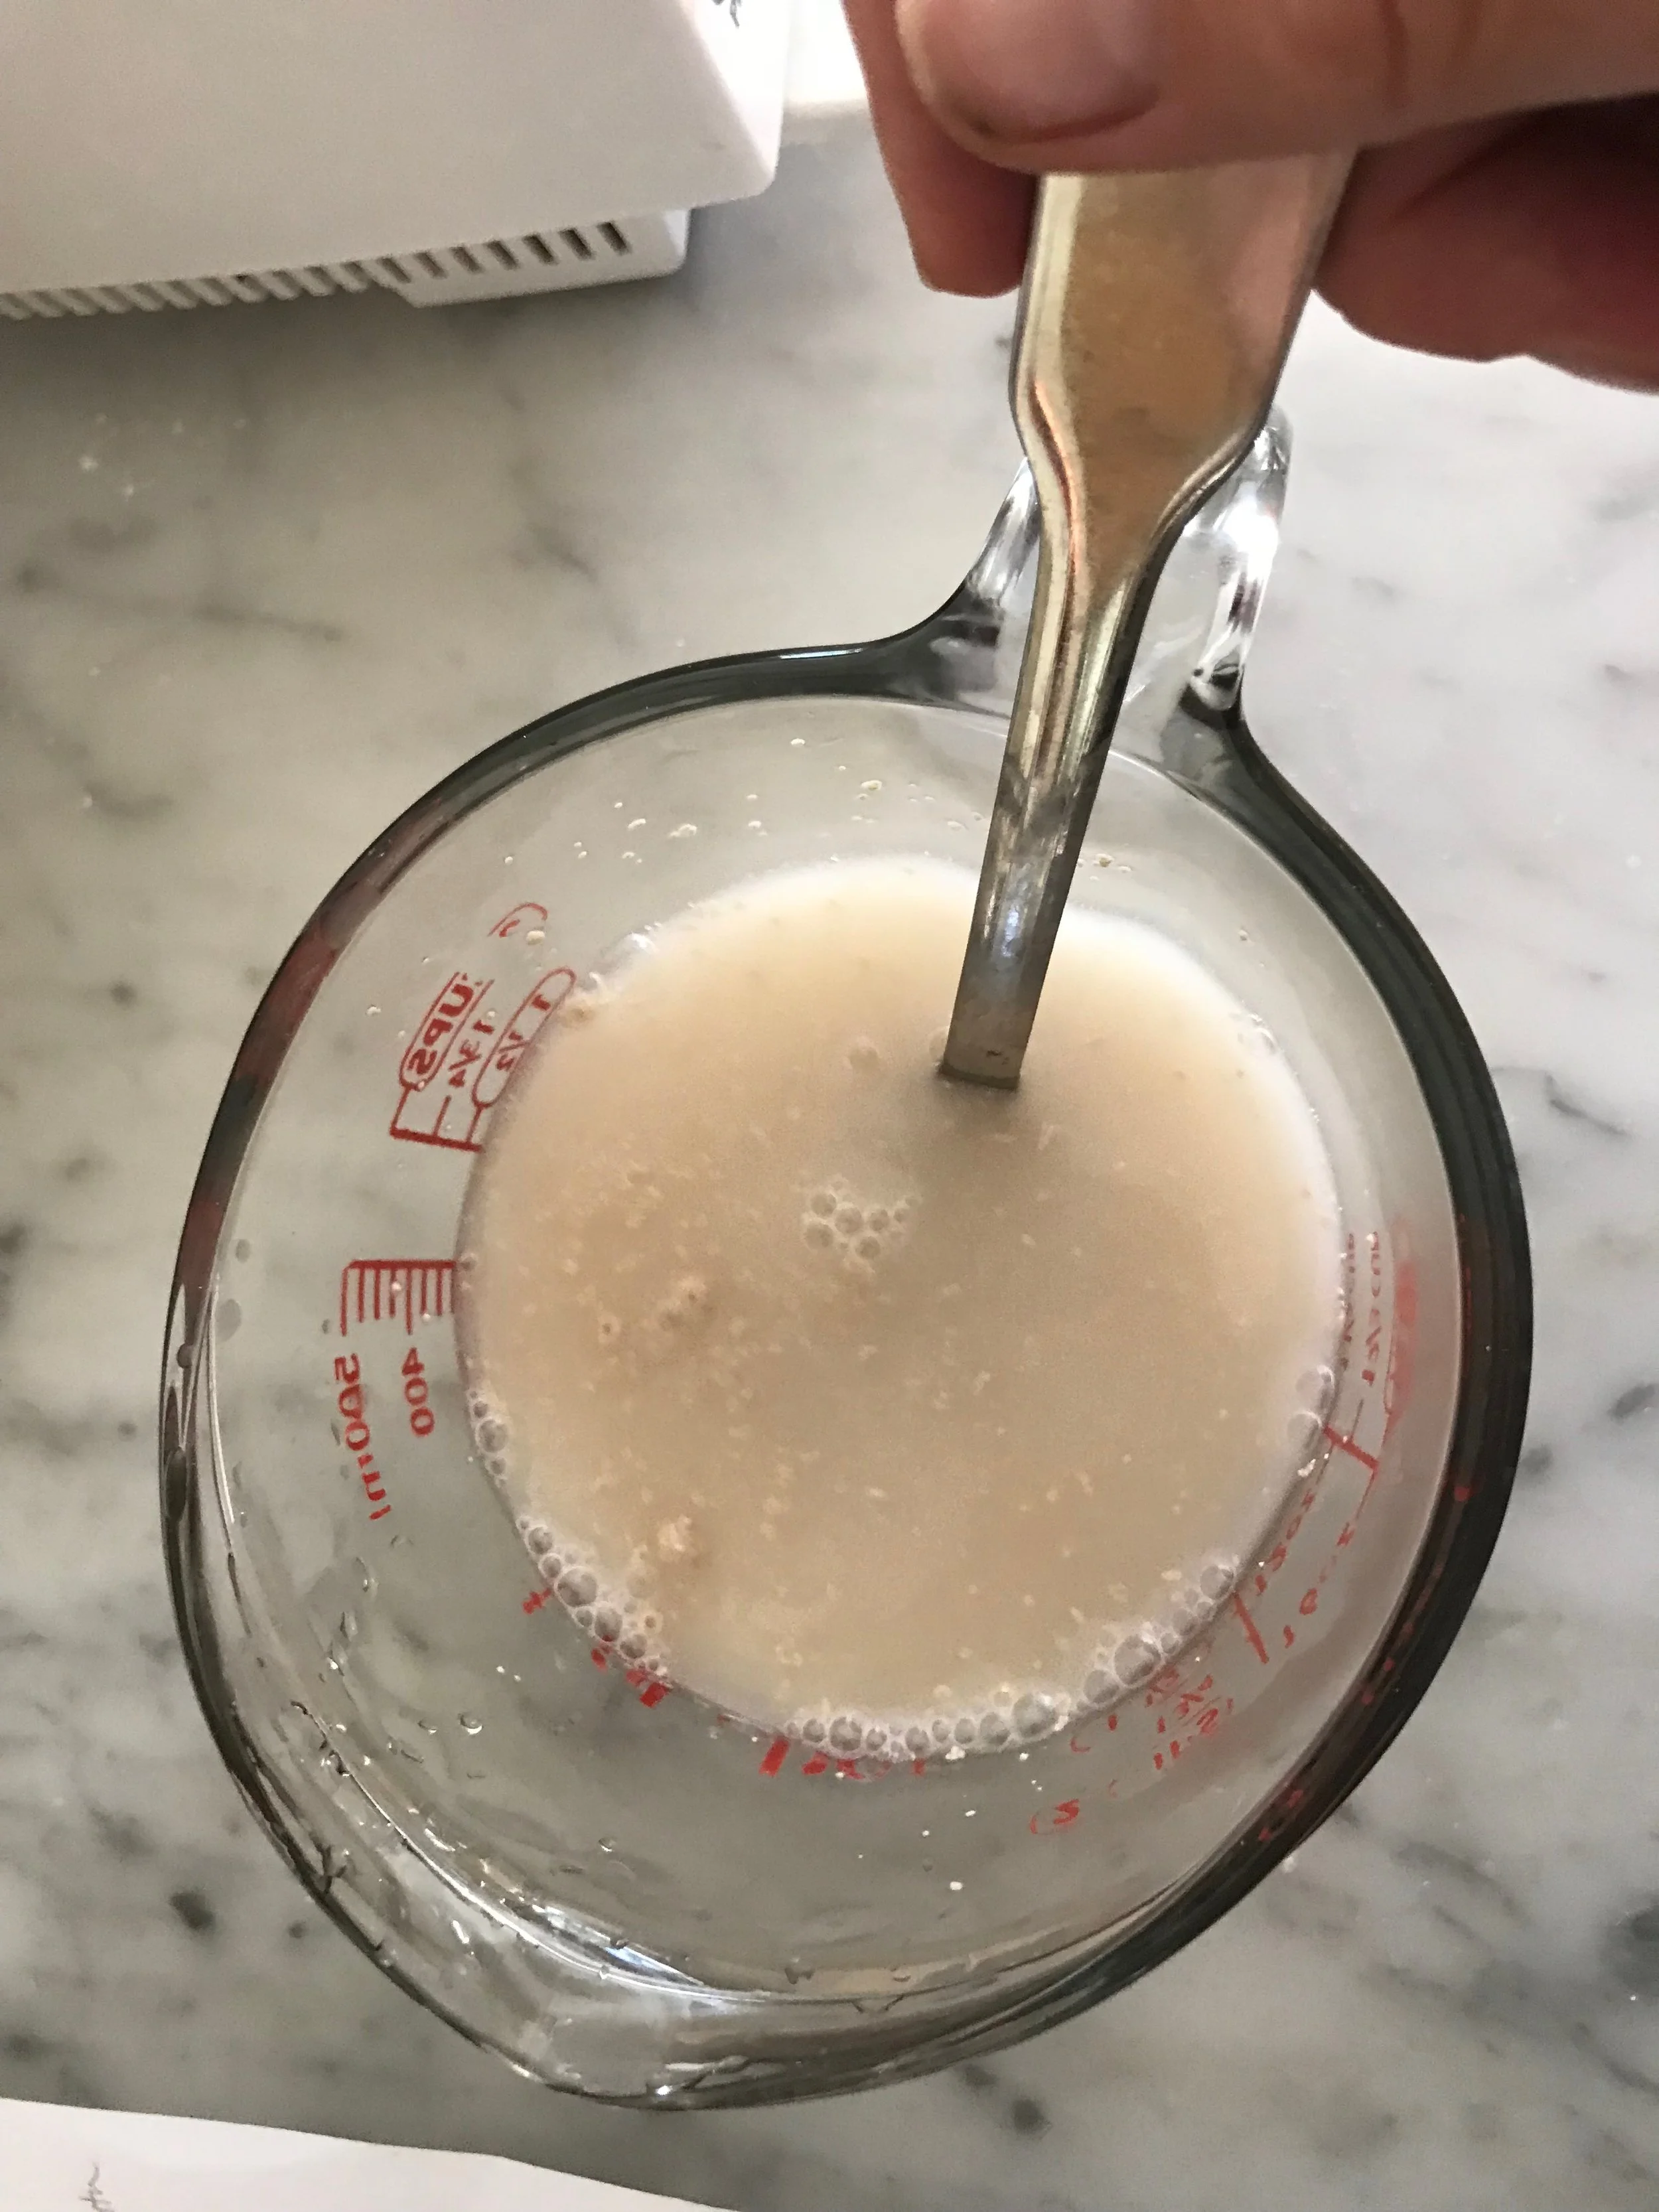
3. Dissolve the yeast in the warm (110° F) water

4. With the food processor running, add the water-yeast mixture in a steady stream.

5. Turn off the machine and add the oil. Pulse a few times to mix in the oil.

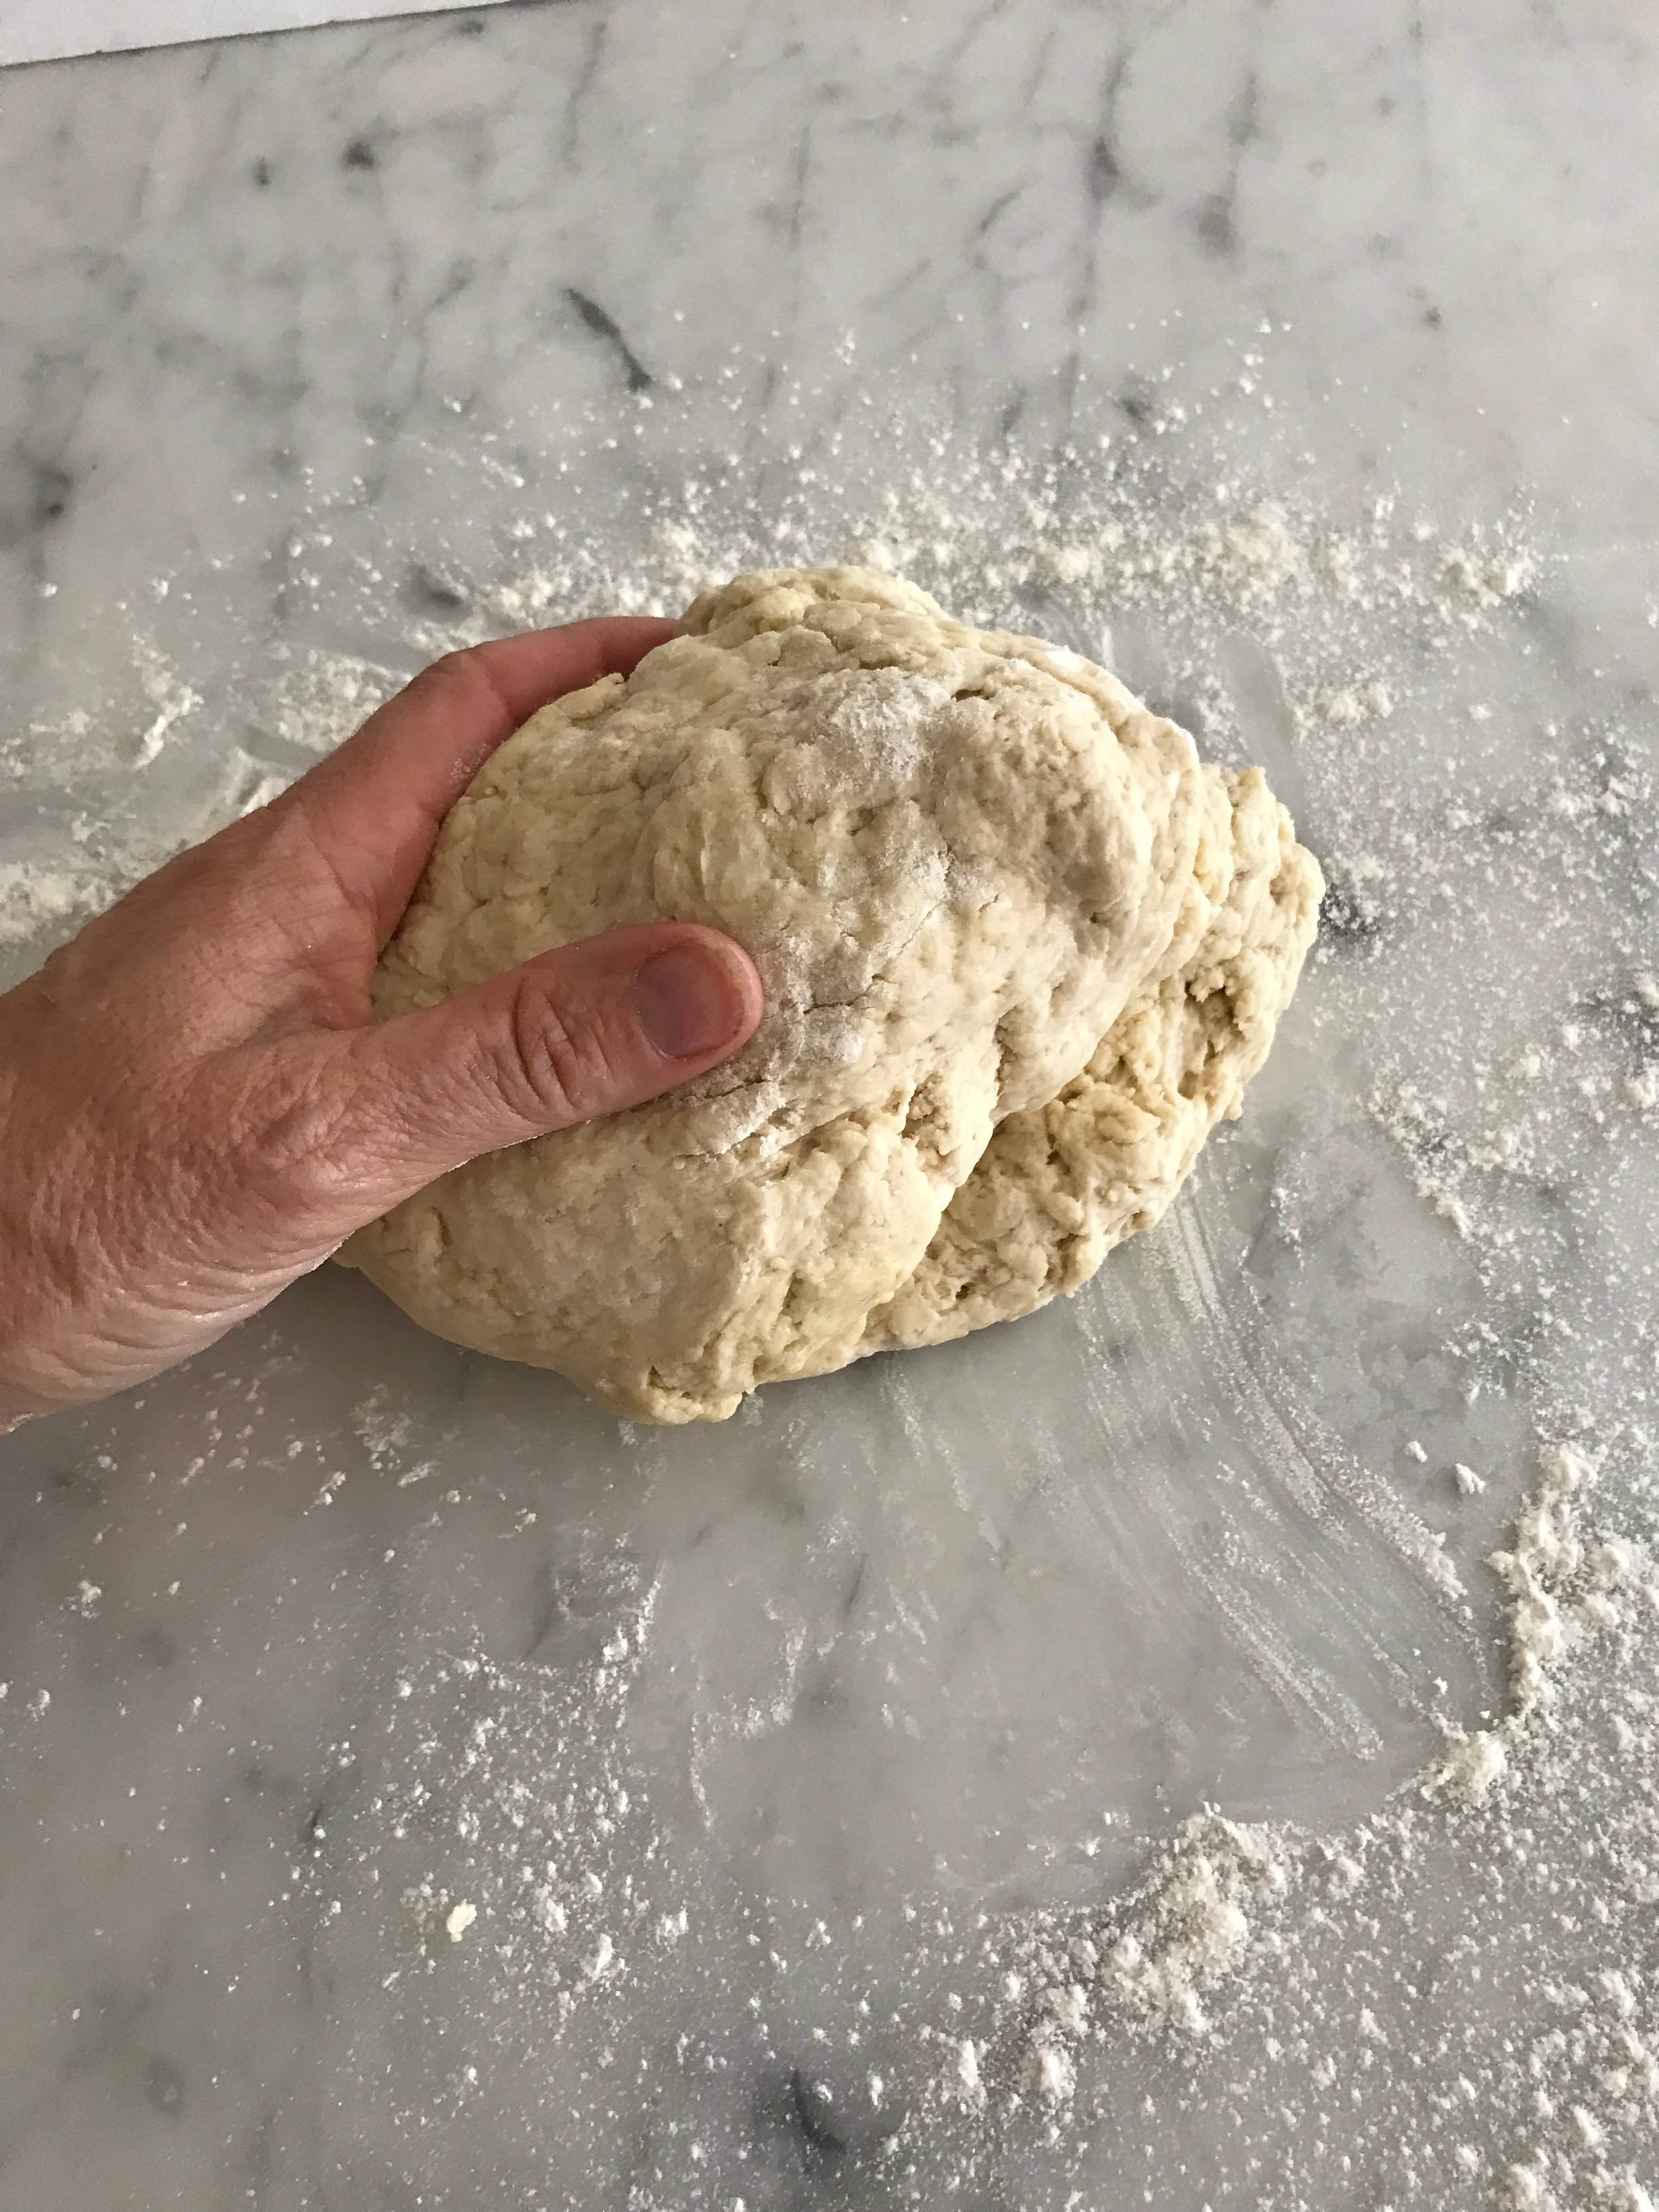


6. Scrape the dough out of the bowl onto a floured board or counter. Gather any bits of dough and flour and quickly knead into a large ball. Cut the dough into 4 equally sized pieces and roll each piece into a tight, smooth ball. Cover with a clean dishtowel and allow to rise until dough doubles in size, about 45 minutes.

7. In a small bowl, combine the rosemary, thyme and cheese. Set aside.

8. Place a ball of dough on a lightly floured board and, using a rolling pin, roll the dough into a rectangle, approximately 10”x15”. Sprinkle one half of the dough with the herb-cheese mixture.

9. Fold the dough over the herb-cheese mixture like a book.

10. Cut the dough lengthwise into 1-inch strips. Then cut the dough strips in half perpendicular to the length of the strip.

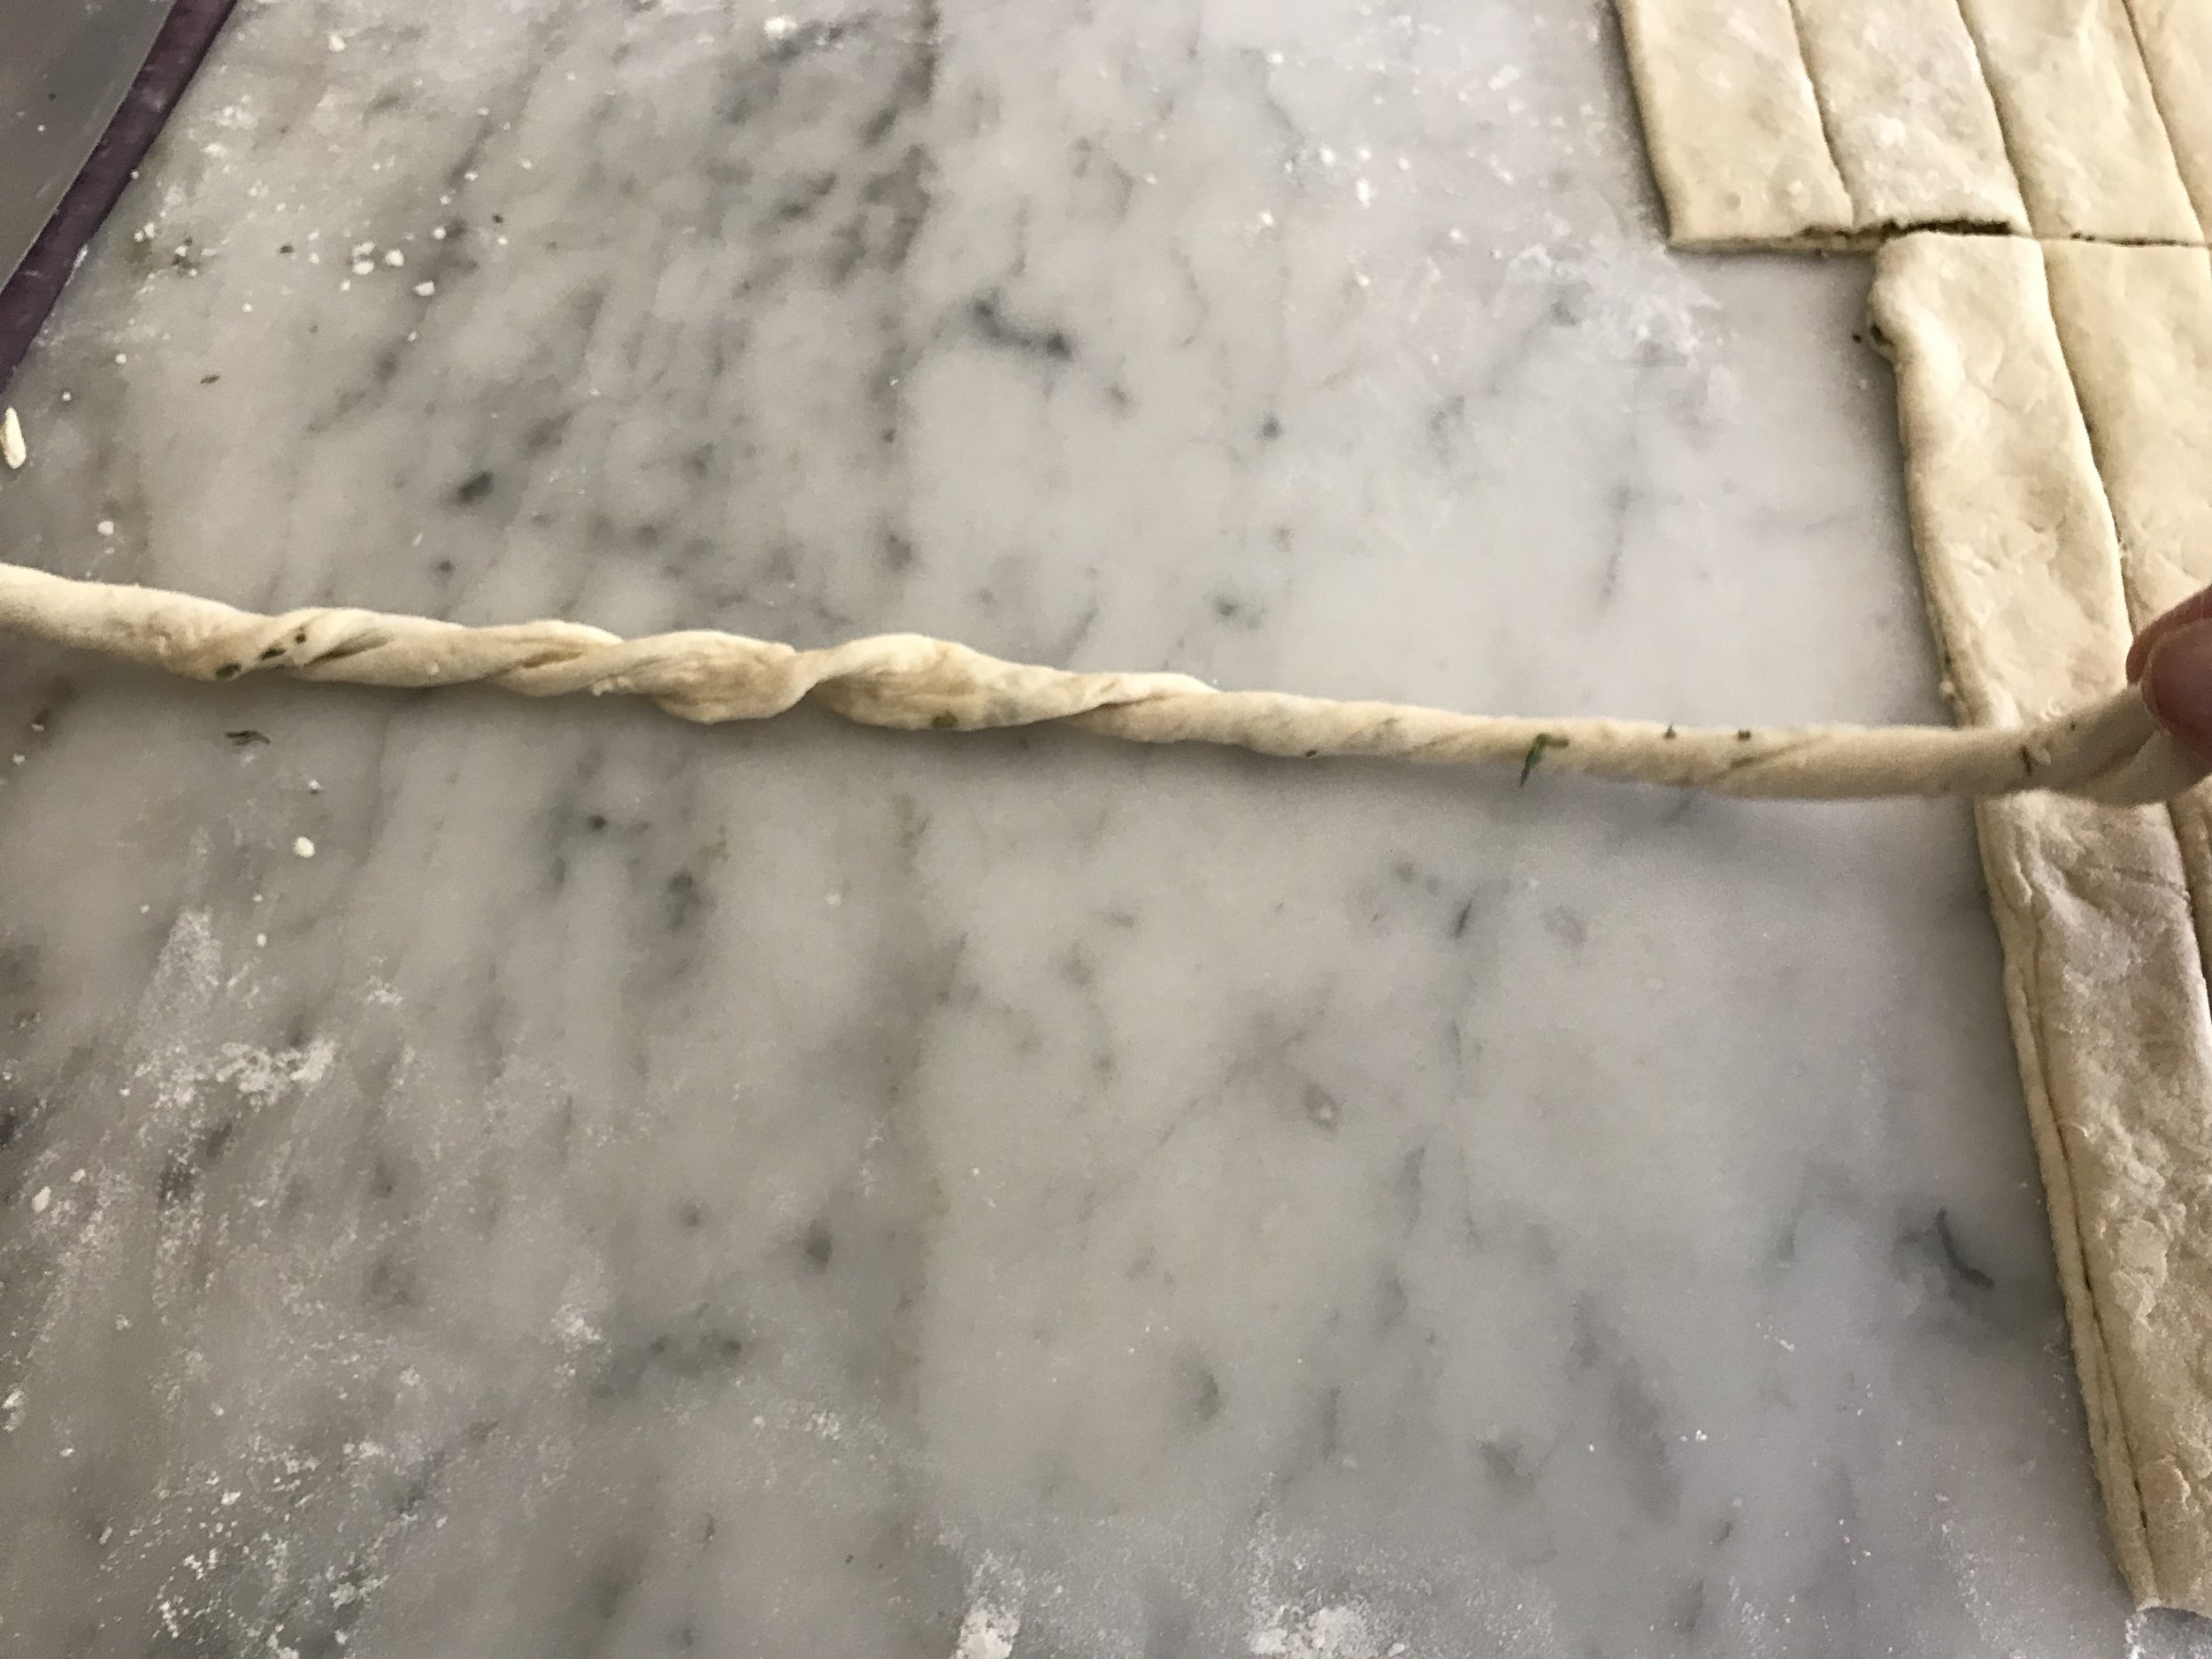
11. Using your hand, roll and twist the dough into thin breadsticks. Place on baking sheet. Repeat with the remaining dough.
12. Bake in 400°F oven for 15-20 minutes, or until golden brown.

13. Remove from the oven. Brush with olive oil and sprinkle with the remaining herb-cheese mixture and salt.

14. Serve hot or room temperature.
TIPS & TRICKS
• You will need 1 baking sheet for each ball of dough, or bake it in batches.
• You can make the breadsticks sweet by substituting the herb/cheese mixture with ½ cup granulated sugar and 1 tsp. of cinnamon.
• You can make these 2-3 days ahead through step #8. Store in an airtight container or giant zip lock bag. Before serving, reheat in a 400°F oven for 5 minutes. Then brush with oil and sprinkle with herb-cheese mixture and salt.
• This dough is great for making pizzas too!!