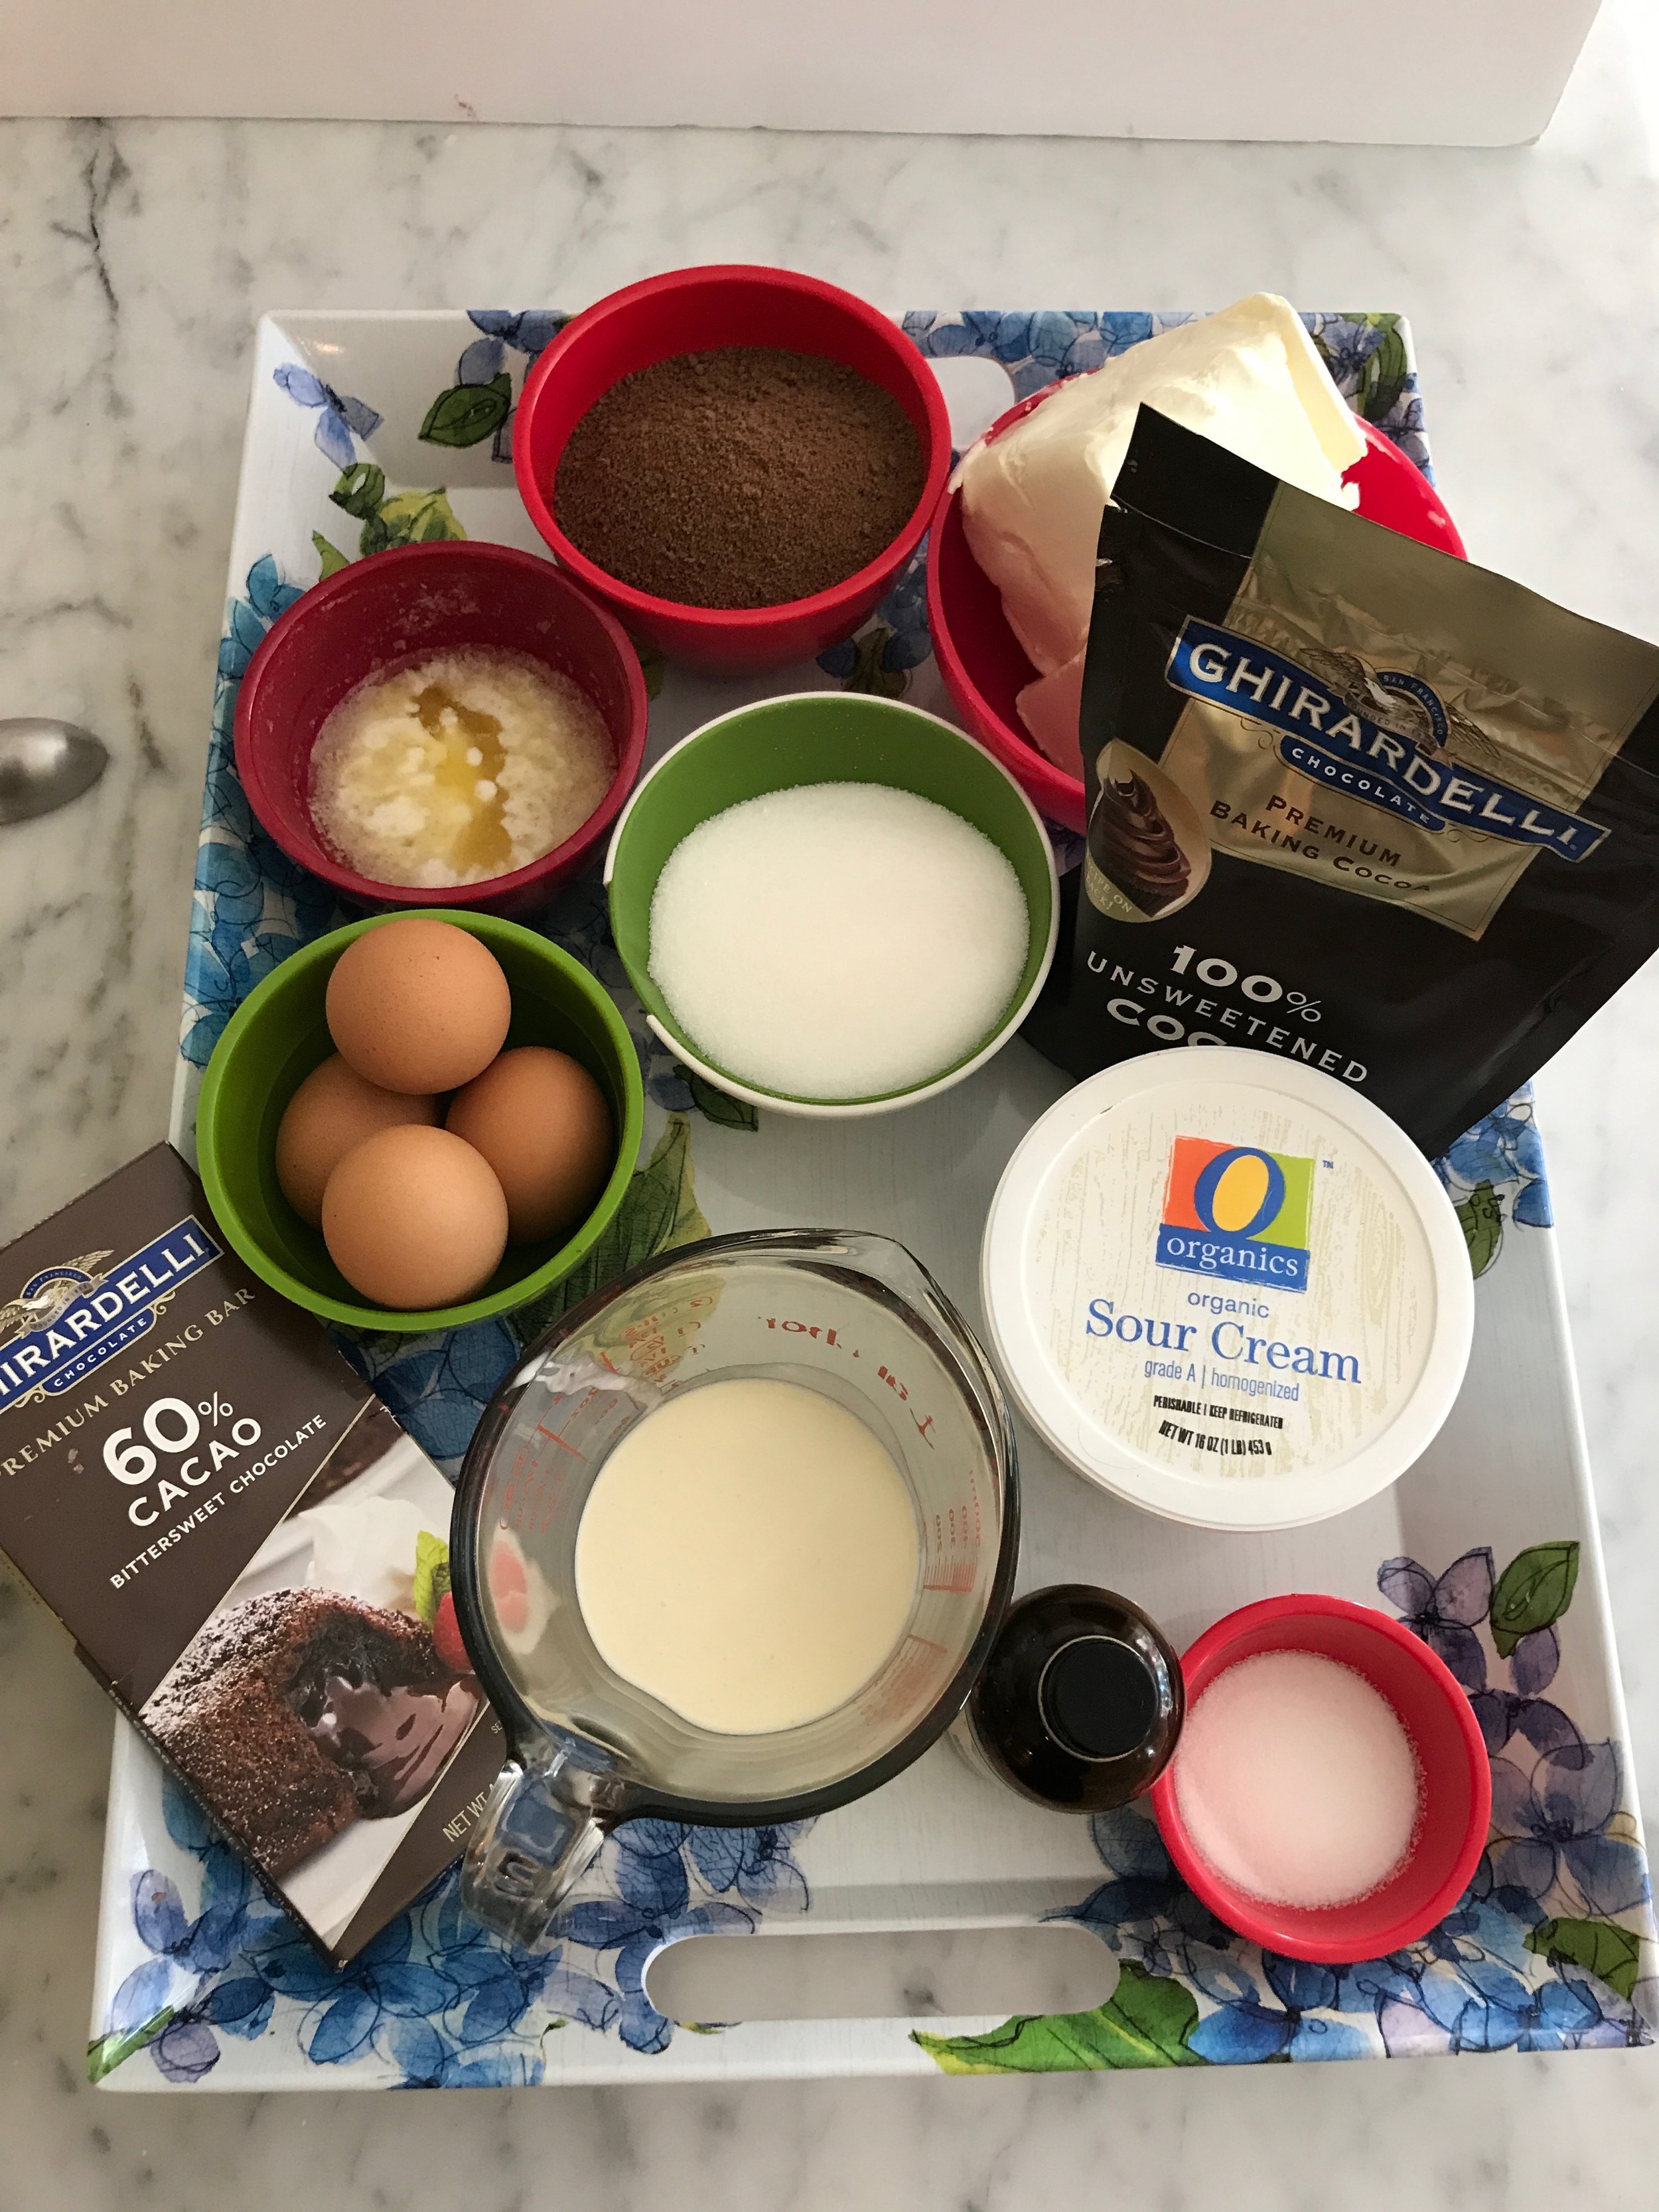
• UnderConstruction
  • Home
  • Seasons
  • Classes
  • Tours
  • About
  • CONTACT
  • Menus
Menu

Cucina Casa M

Street Address
City, State, Zip
Phone Number

Your Custom Text Here

Cucina Casa M

  • UnderConstruction
  • Home
  • Seasons
  • Classes
  • Tours
  • About
  • CONTACT
  • Menus

Chocolate Orange Mousse, with Berries

February 20, 2020 Nancy Madok
mousse:ingred.jpg

Ingredients

6 oz. bittersweet chocolate, chopped
2T unsalted butter, cut into 8 pieces
¼ cup orange liquor
3 large egg whites, room temperature
pinch of salt
3T super fine sugar
1 cup cold heavy cream
1 cup raspberries, washed
Confectioner’s sugar for dusting

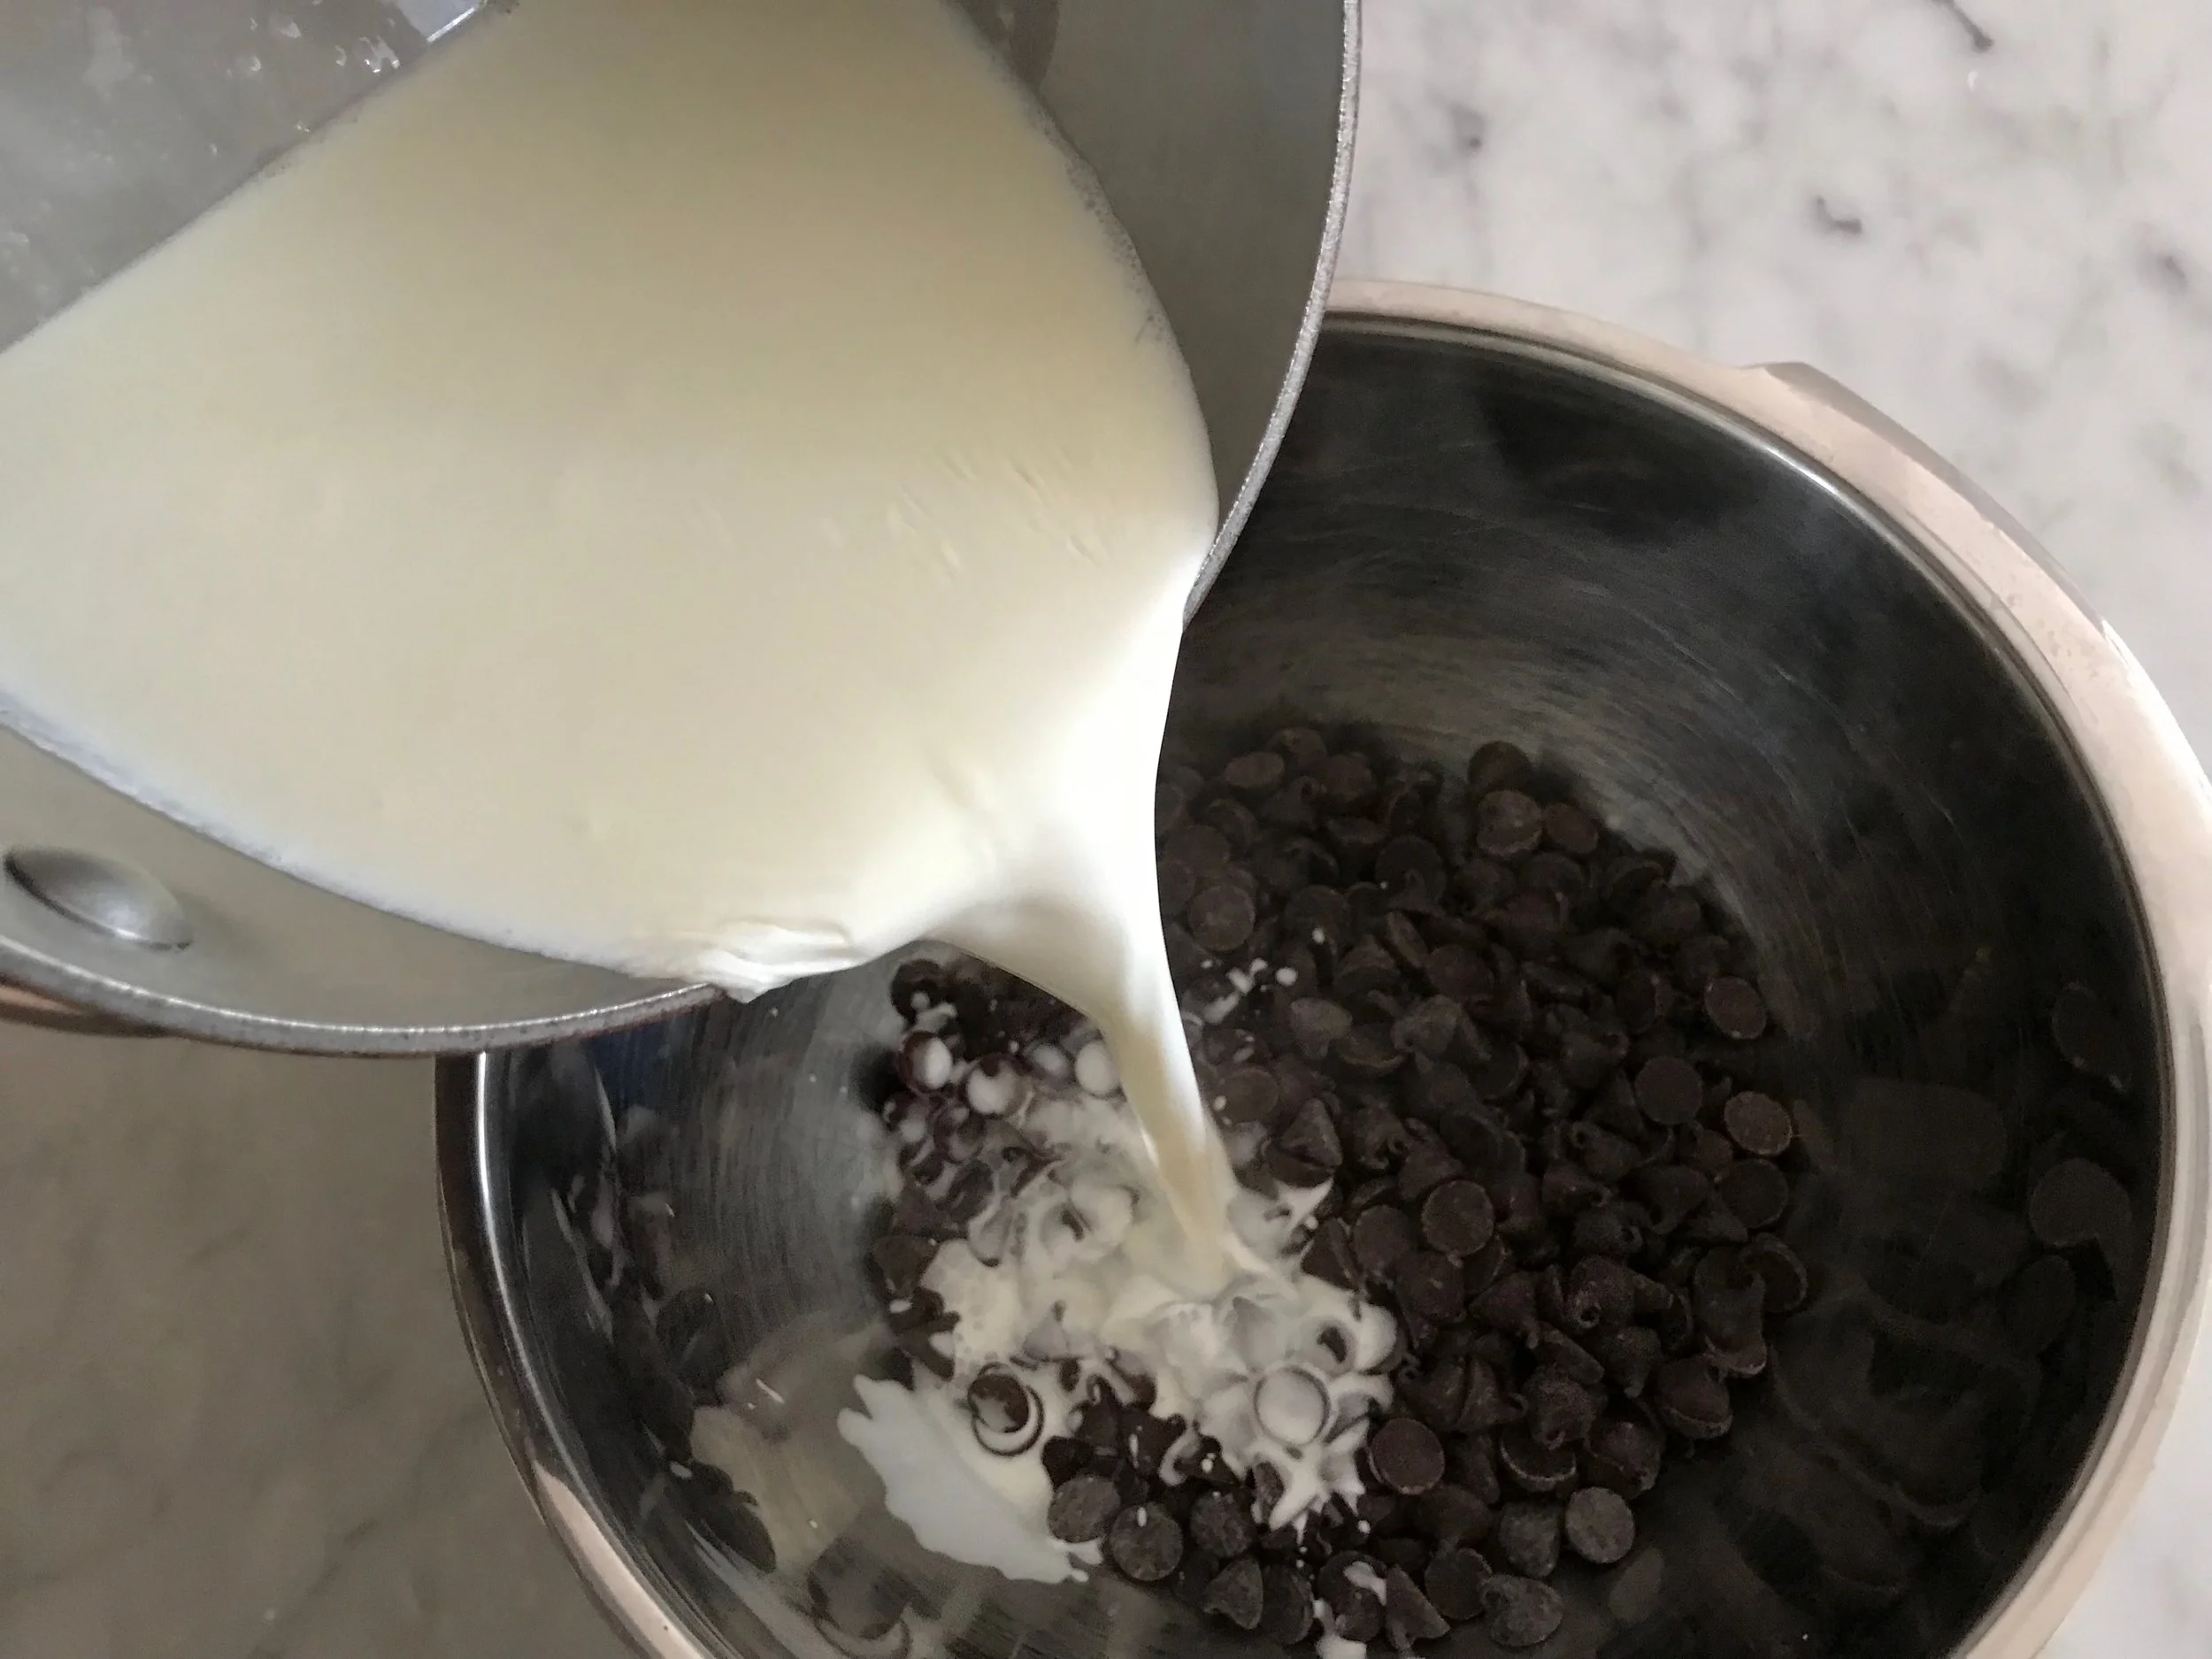
1. Place the chocolate in a medium-size heat-proof bowl and set the bowl on top of a pot of boiling water. Turn the heat off. Stir until the chocolate is melted, remove from heat, stir in the liquor and the butter. Stir until the chocolate is completely mixed and smooth. Set aside to cool slightly.

mousse#2a.jpg

2. In a bowl of your mixer, over medium speed beat the egg whites with salt until they form soft peaks, about 2 -3 minutes. While still beating, sprinkle in the sugar by the spoonful and continue beating until soft, shining peaks are formed, about another 2-3 minutes. Set aside.

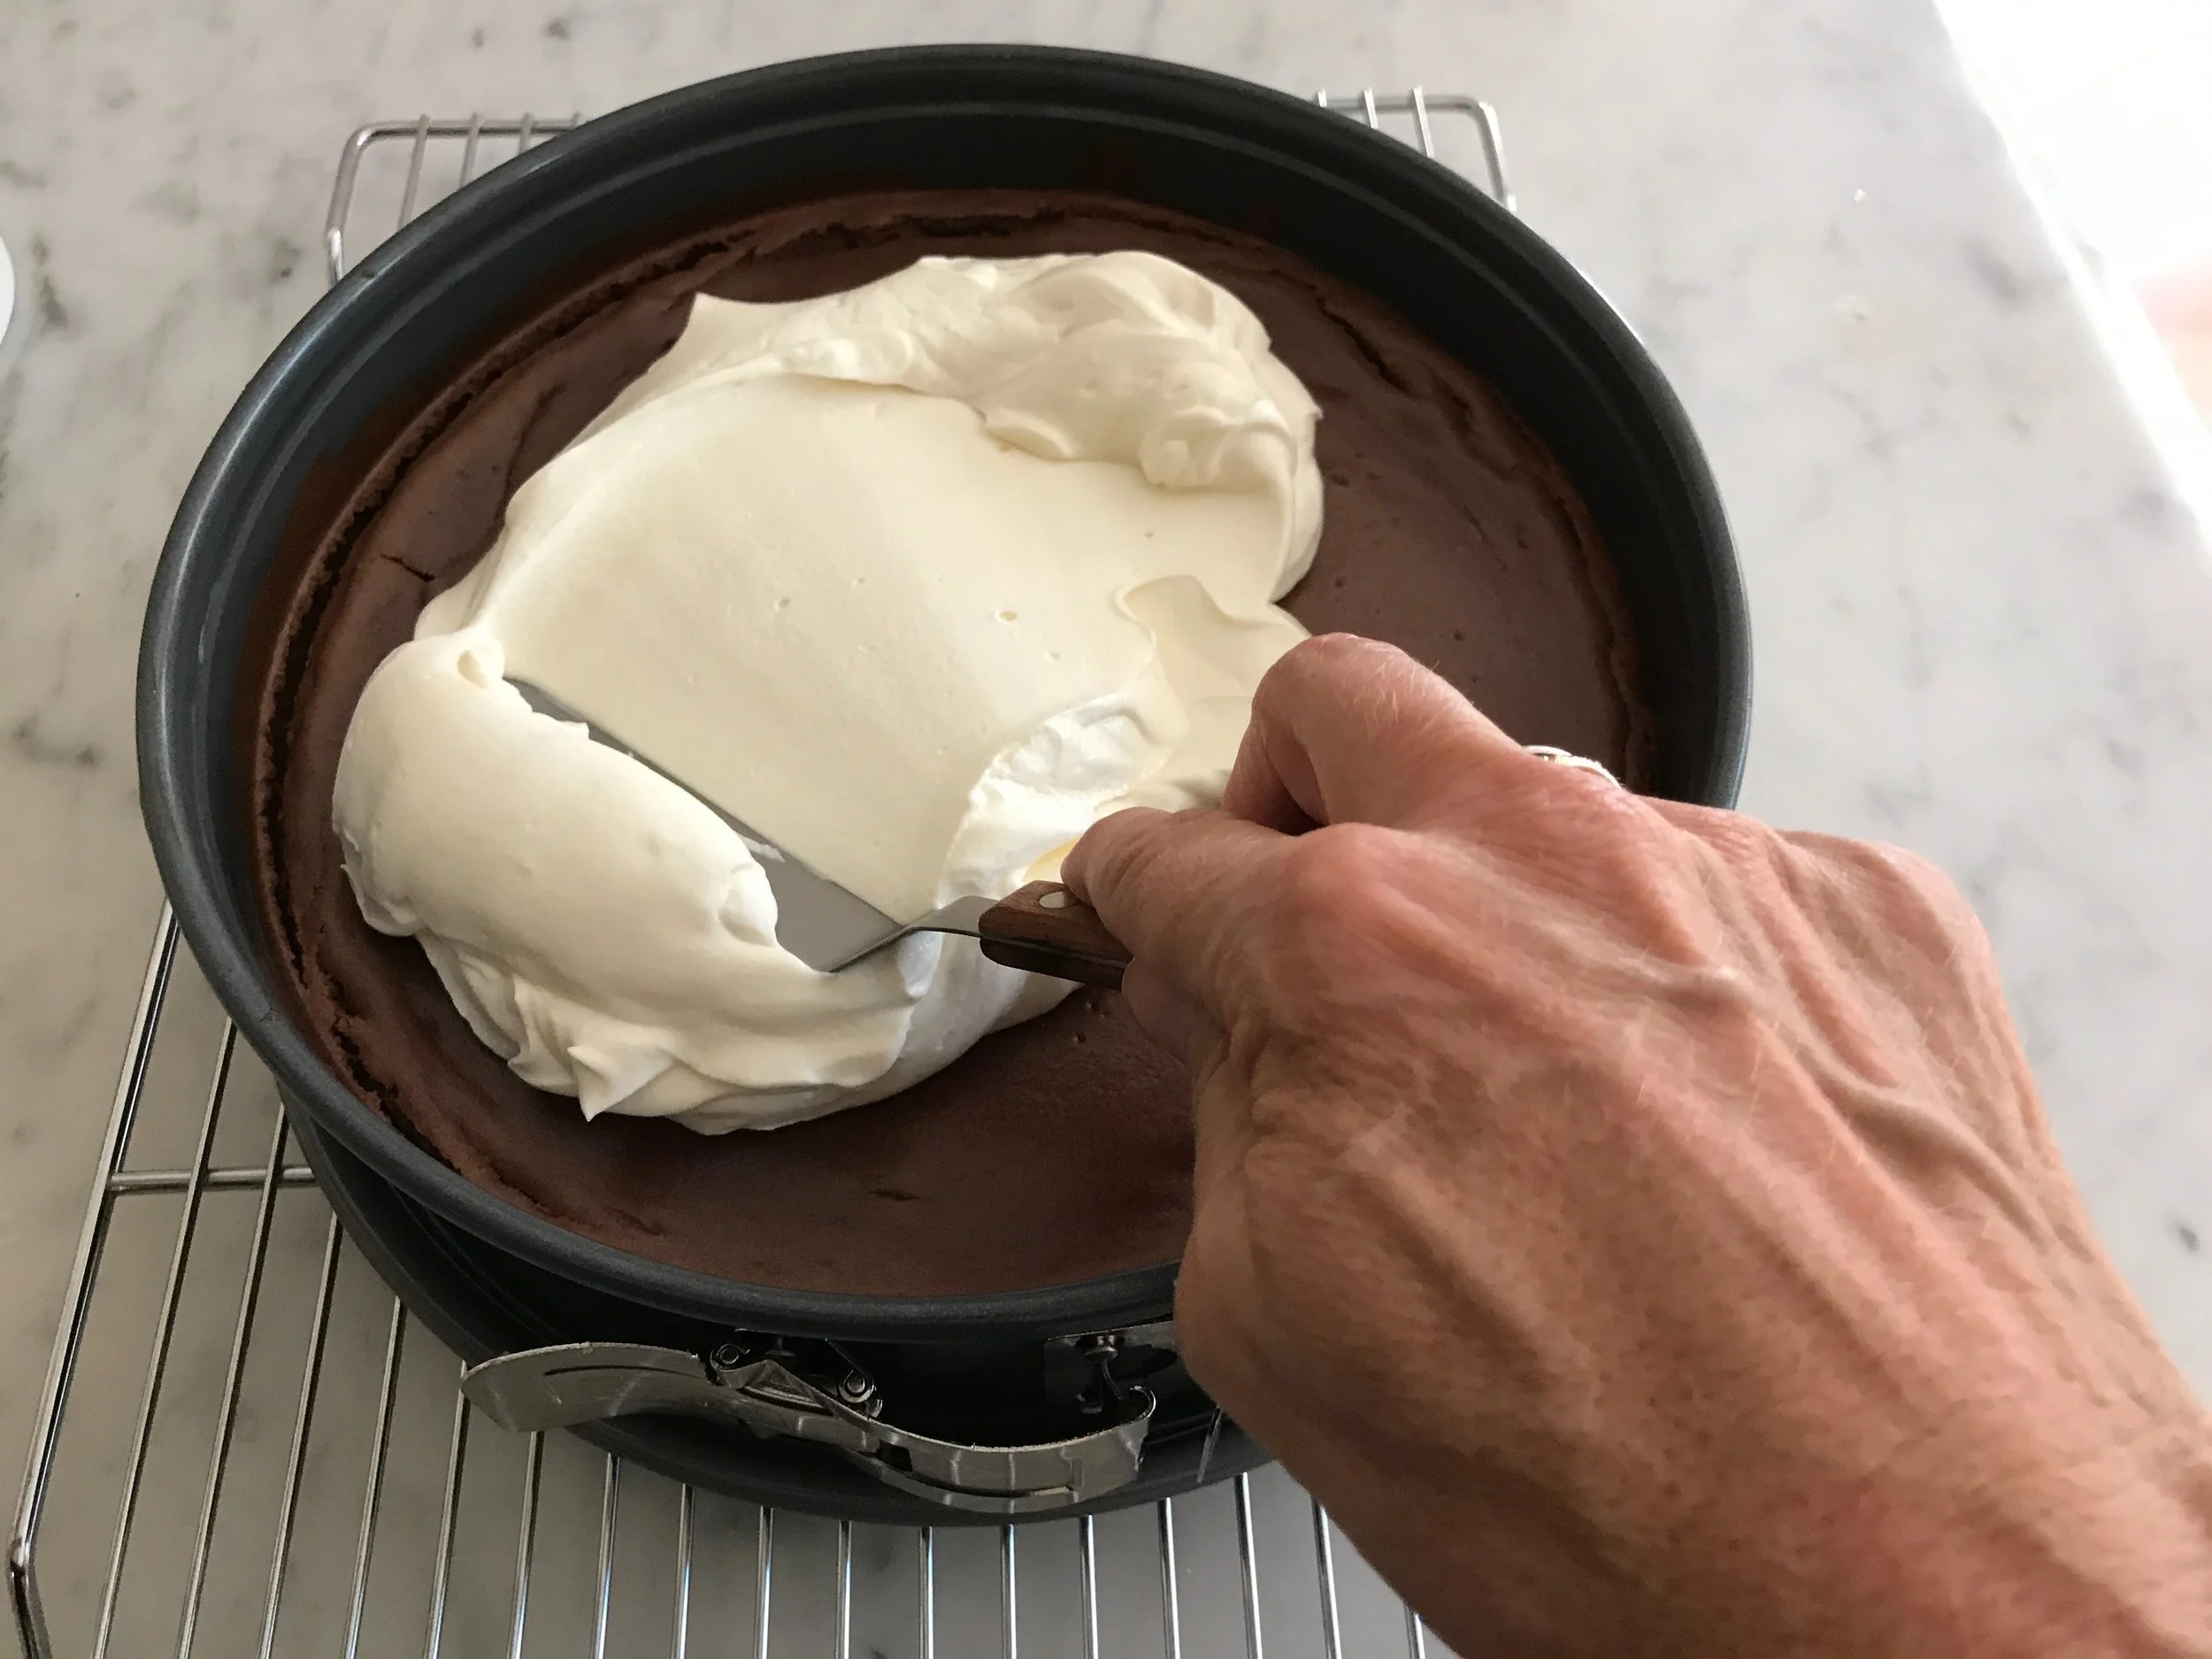
3. In a clean bowl, whip the cream until it is fairly thick and holds a soft peak.

mousse#4b.jpg

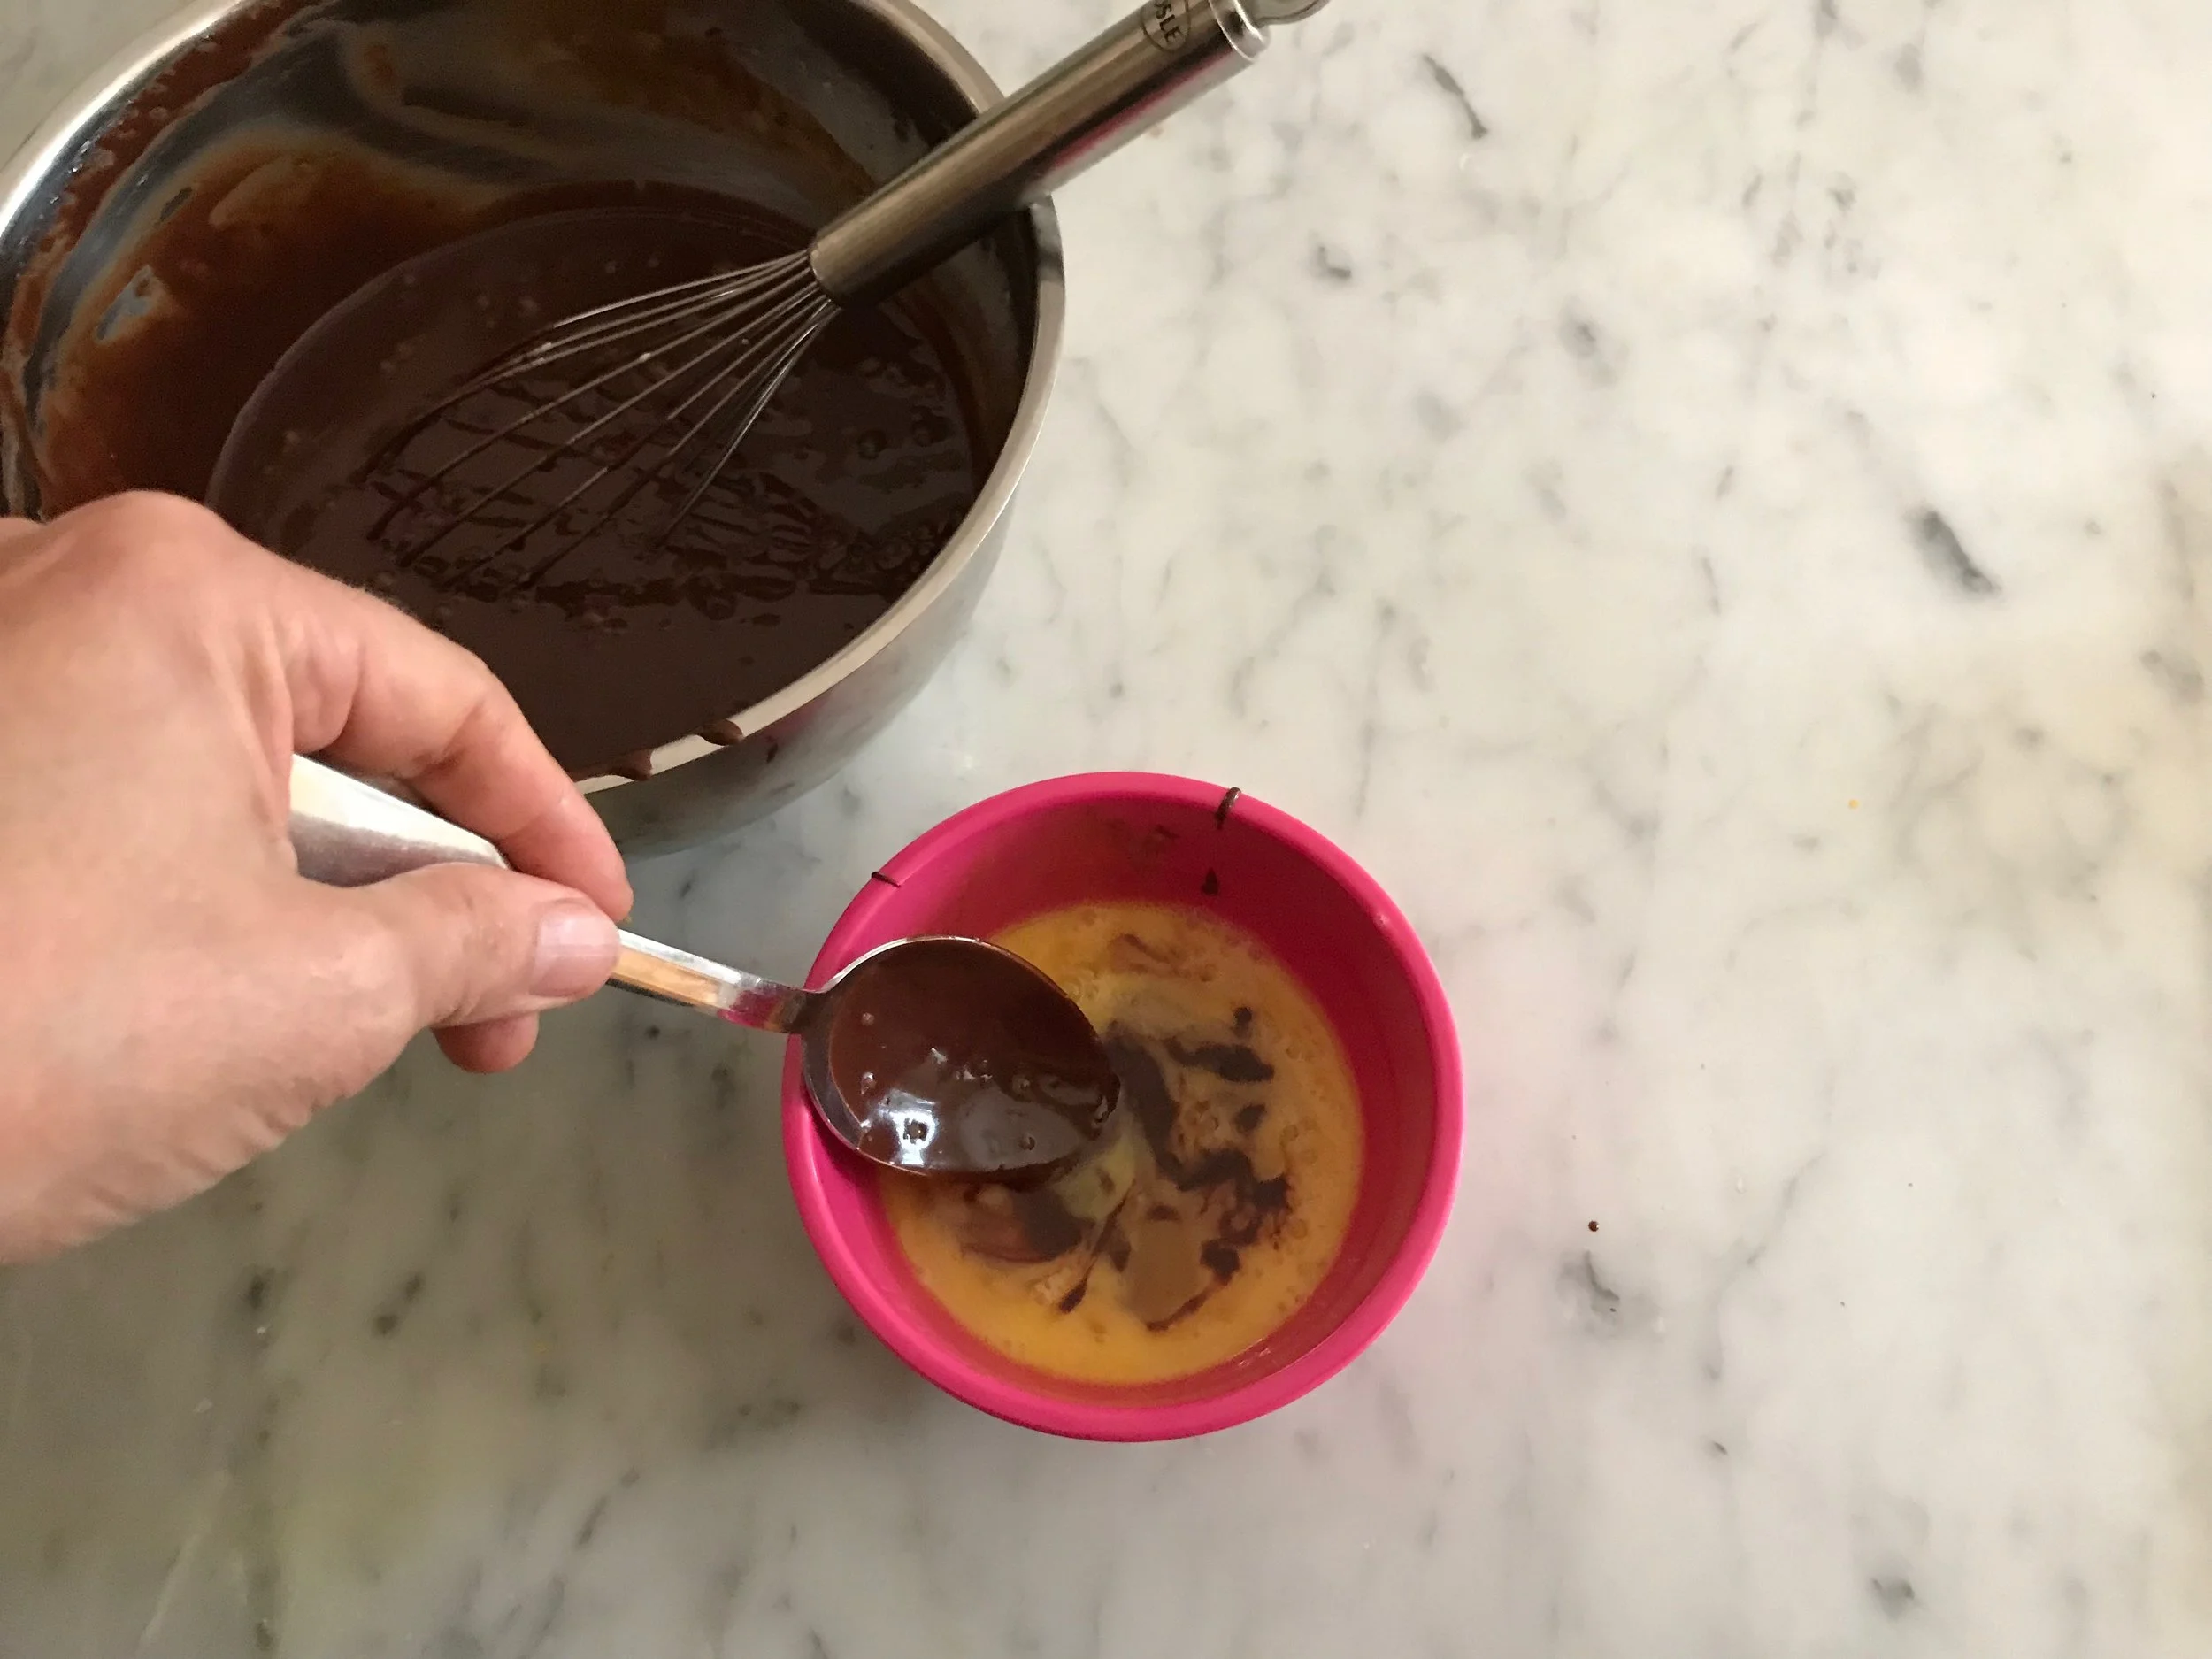
4. Using a large spatula, gently fold about 1/3 of the egg whites into the chocolate mix until slightly incorporated. Fold in the remaining whites. Now fold in the whipped cream gently folding until all the cream is blended in.

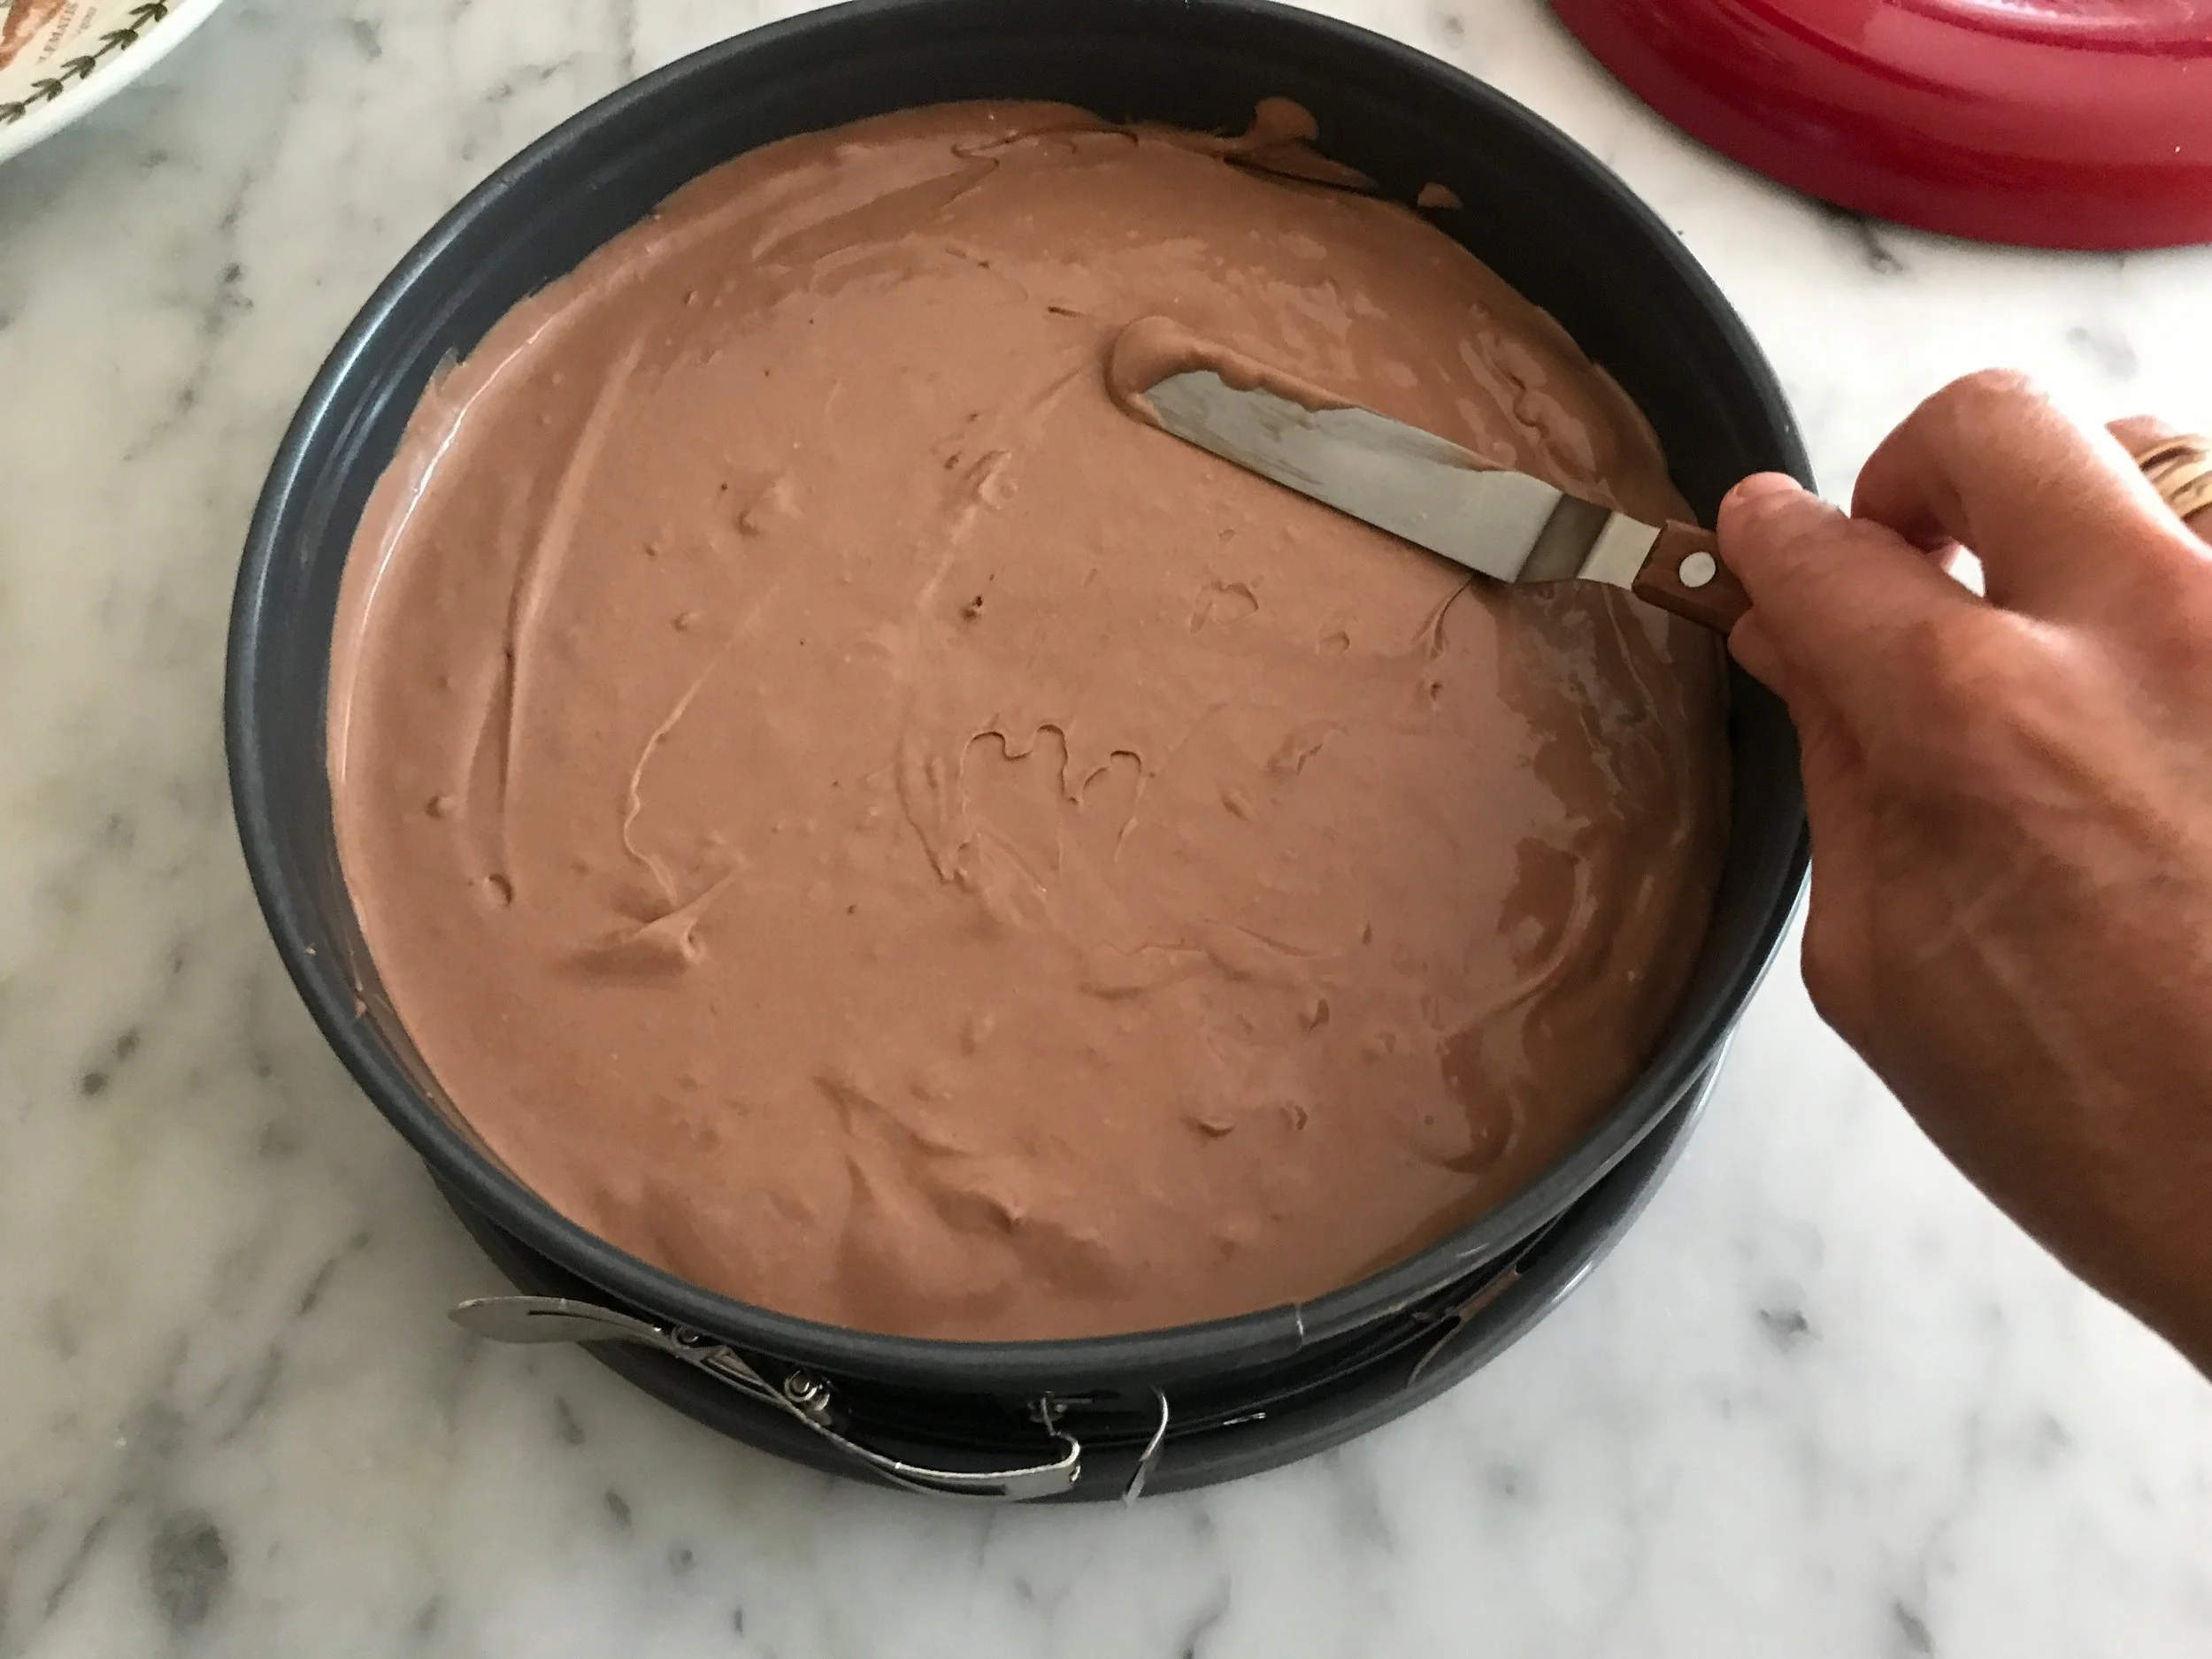
5. Spoon or pipe the mousse into serving dishes and refrigerate for at least an hour to firm up.

mousse#6.jpg

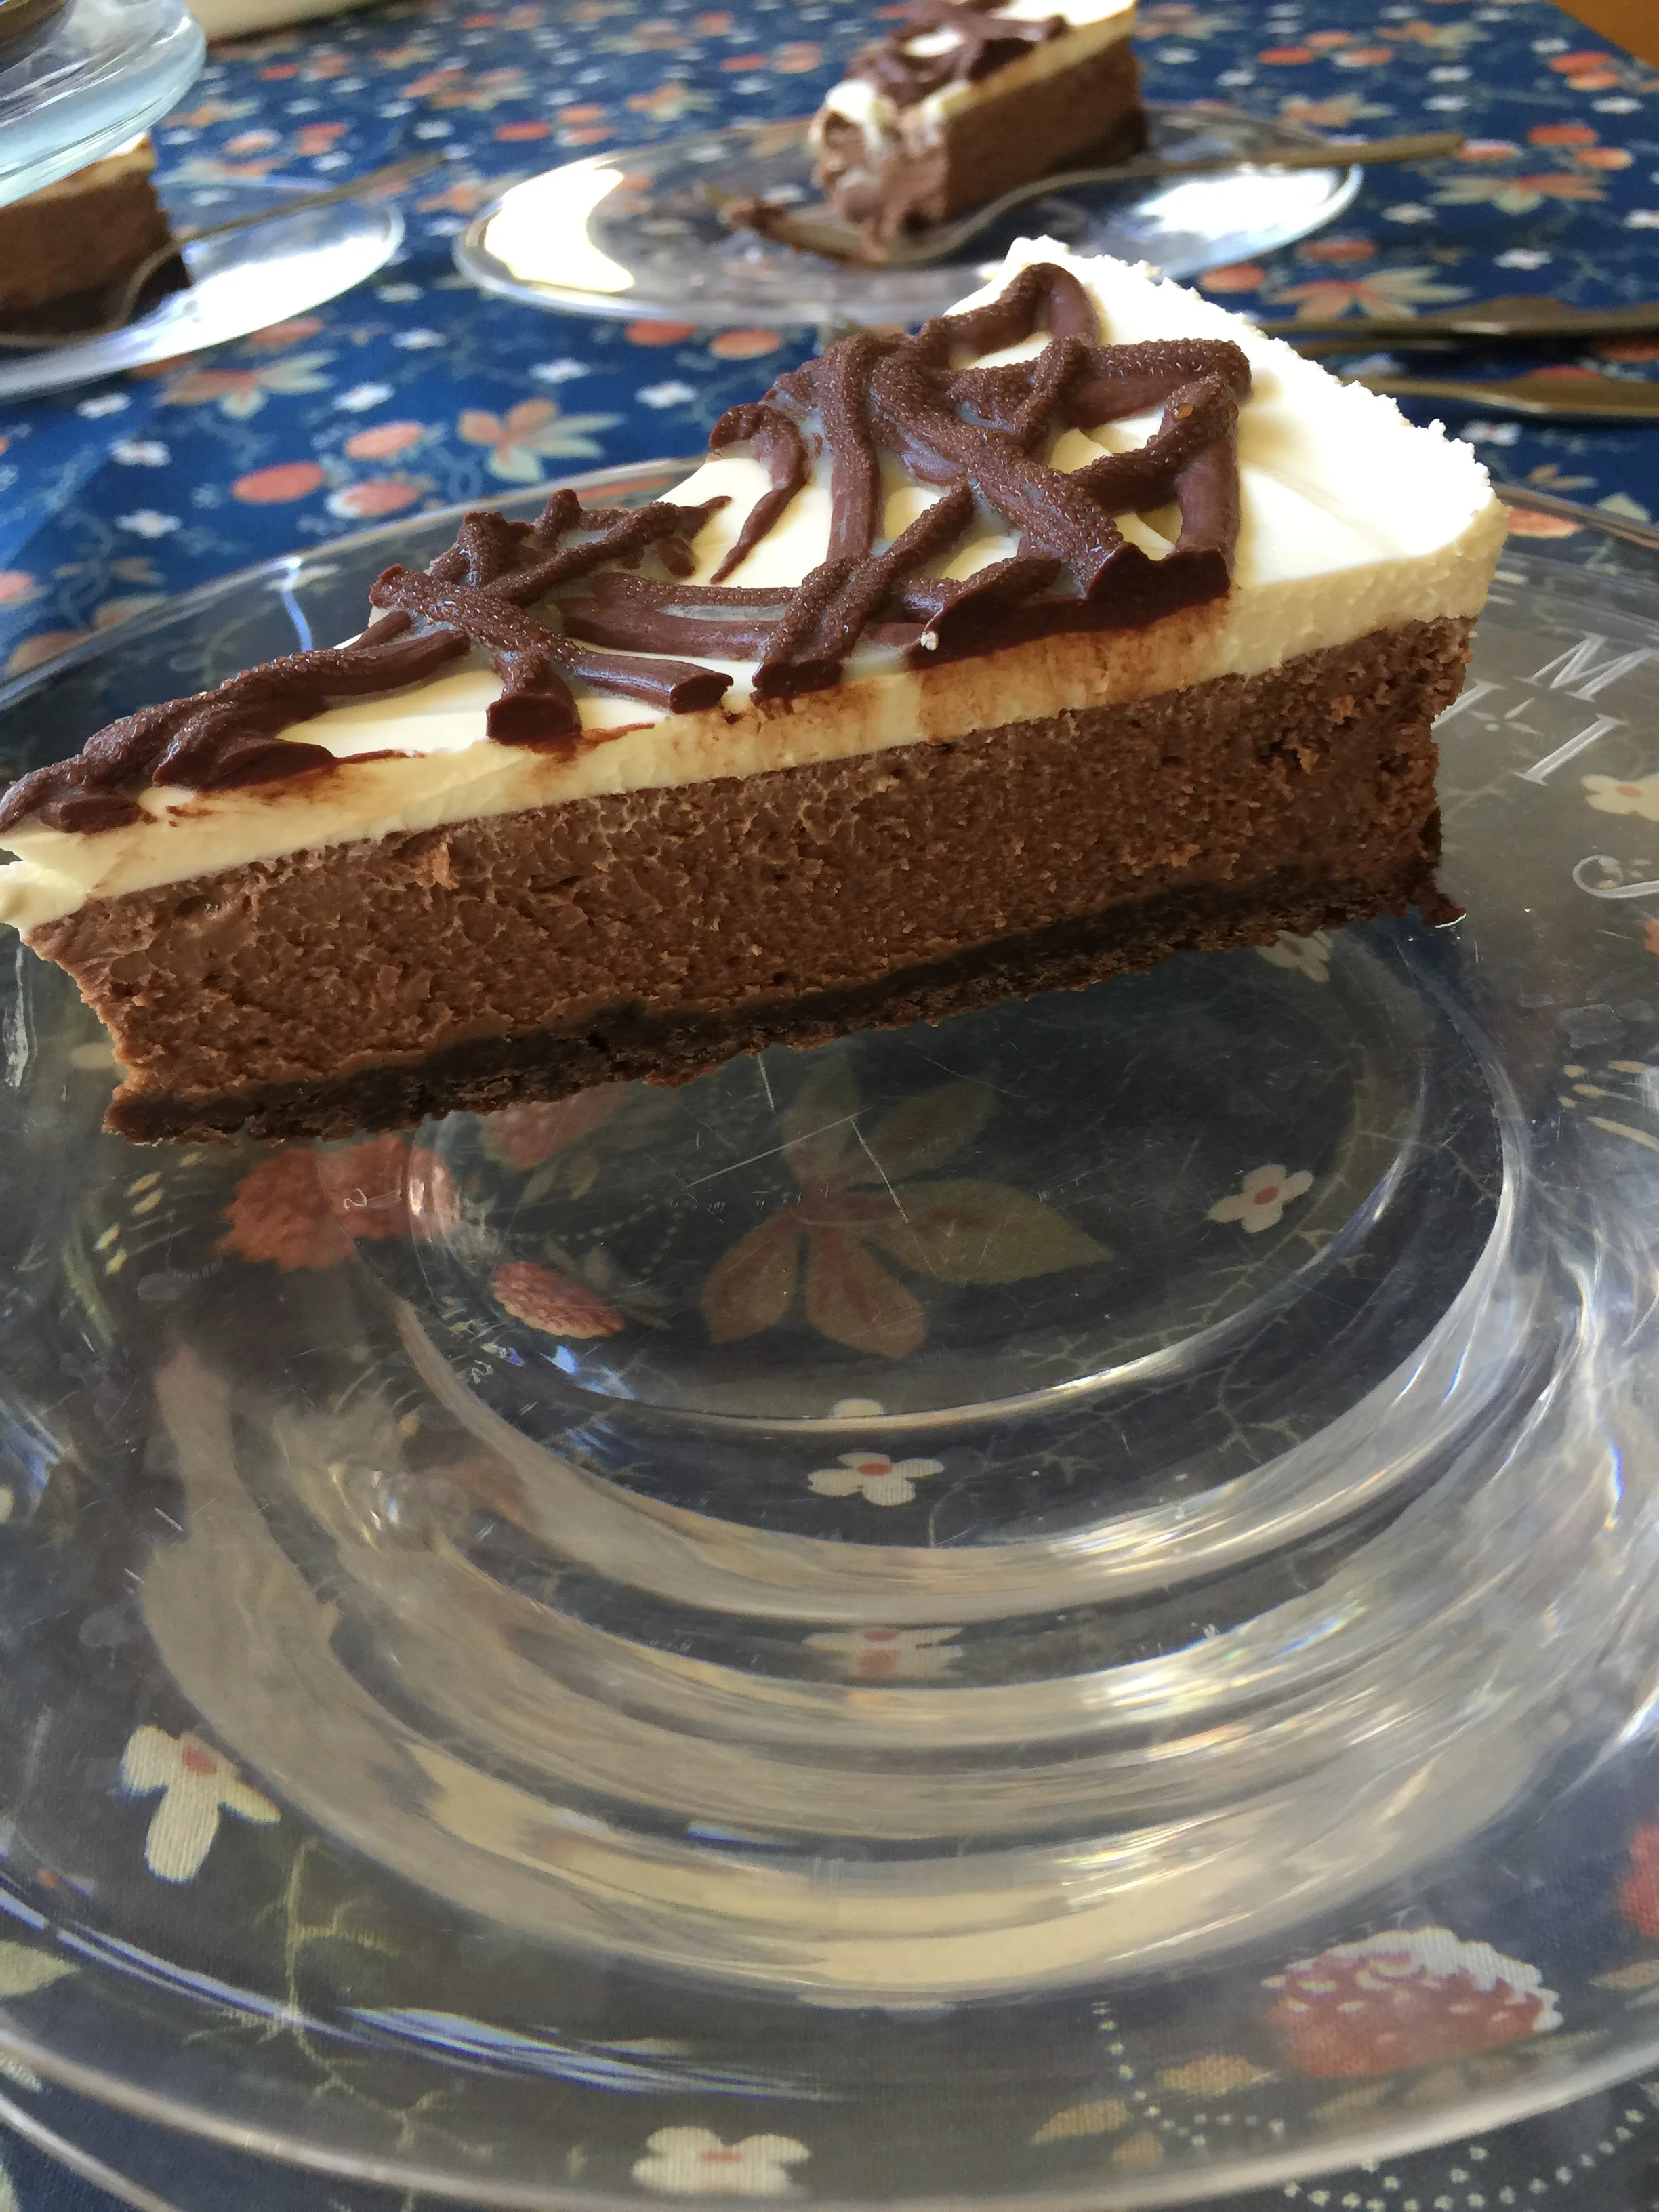
6. When ready to serve, sprinkle a few raspberries on top of the mousse. Dust with confectioner’s sugar and serve with meringue kiss cookies on the side.

TIPS & TRICKS

• Use a good dark 60% cacao chocolate.
• You can use Grand Marnier, triple sec, or Cointreau for the orange liquor. I prefer the Cointreau; it adds a clean, light orange flavor.
• Egg whites separate best when they are cold. They beat up best when they are room temperature. They can sit on your counter for hours.
• Take care when separating the egg whites to insure that there is no egg yolk in the whites. Egg yolks have fat, and fat will cause the whites to not whip up. Make sure your mixing bowl is really clean.
• Chocolate mousse can be made two days in advance. Just cover the dishes with plastic wrap. Remove the mousse from the fridge 30 minutes before serving to remove a little of the chill.

DOWNLOAD CHOCOLATE ORANGE MOUSSE

This is a Companion recipe to
Meringue Kisses recipe.
Click photo below to go to recipe.

kisses:cover.jpeg
In February 2020 Class Tags Dessert, Spring, Chocolate, Mousse, Orange, Grand Marnier, Raspberries, Heavy Whipping Cream, Egg Whites, Triple sec, Cointreau
Comment

Chocolate Bread Pudding

February 28, 2019 Nancy Madok
puddin:cover.jpg

Ingredients

1 baguette
1T butter room temperature
4 cups milk
2 cups heavy whipping cream
¾ cups granulated sugar
¼ tsp. salt
16 oz. dark chocolate, (60-70 % cacao) chopped
6 eggs
2 tsp. vanilla
Powdered sugar for dusting

1. Cut the bread into ½ inch cubes (8cups) and place on a baking sheet and allow it to sit out on counter and dry out overnight or place the sheet pan in a 325° F oven for 10-15 minutes to dry them out.

2. Take the tablespoon of butter and a paper towel and butter the bottom and sided of an 8x11-baking dish. Set aside.

3. In a saucepan over medium heat, add the milk, heavy cream, sugar, and salt. Stir until the sugar has dissolved and the milk is warmed through about 4- 6 minutes.

4. Turn off the heat and add the chocolate. Let sit until chocolate has melted, about 3-5minutes. Stir until well blended.

5. In a large bowl, add the eggs and vanilla and beat until combined. Add a small amount of the warm chocolate mixture to the eggs and stir until the egg mixture is tempered, then add the rest of the chocolate mixture. Stir until combined. Add the bread pieces.

6. Place a plate on top of the bread to keep it submerged

7. Let the pudding mixture sit at room temperature for 1 hour. Pre-heat the oven to 325º F.

8. Put a kettle or saucepan of water on high heat and bring to a boil.

9. Place the baking pan into a roasting pan. Pour the pudding mixture into the buttered baking dish.

10. Place the roasting pan on the middle rack of your 325º F. oven, carefully fill the roasting pan with the boiling water so that is come ½ way up the side of the pudding dish.

11. Bake for 45-50 minutes until edges are set but center is slightly loose.

12. Remove from oven careful remove pudding from water bath and place on cooling rack and cool for 20 minutes.

13. Dust with powdered sugar and serve immediately

Tips & Tricks

• This recipe is perfect for using old dried out bread. You can use any type you have: French, Italian, challah, and even leftover biscuits. Just cut it into cubes, measure out 8 cups, and allow it to dry out.

• When selecting chocolate look for the percentage of cacao in the chocolate. It should be marked right on the front package. The higher the percentage of cacao in the chocolate, the more intense the chocolate flavor and less sugar.

DOWNLOAD BREAD PUDDING RECIPE
In February 2019 Class Tags Winter, Dessert, Pudding, Chocolate, Heavy Whipping Cream, Dark Chocolate, Powdered Sugar
Comment

Gâteau au Chocolat Fondant de Nathalie (Natalie’s Chocolate Cake)

March 5, 2018 Nancy Madok
cake cover.jpg
cake ingred.jpg

Ingredients

½ cup raw hazelnuts
7 oz. bittersweet chocolate, cut into pieces
1¾ sticks unsalted butter
1¼ cup granulated sugar.
5 eggs
2T Frangelico
1T all-purpose flour
Confectioner’s sugar

1.    Pre-heat oven to 350° F.

2.    Place the hazelnuts on a rimmed baking sheet. Place in the 350° F oven and roast for 5-7 minutes until they are slightly brown and fragrant.

cake3.jpg
cake3a.jpg

3.    Remove from the oven and place nuts on a clean kitchen towel. Gently rub the nuts to remove their outer skins. Let the nuts cool, then roughly chop them. Set aside.

4.    Increase the oven temperature to 375° F

5.    Place the chocolate and butter into a medium bowl. Using either the microwave or a double boiler, melt the chocolate and butter. Stir until combined.

cake6.jpg

6.    Add the granulated sugar. Stir until well combined and chocolate has slightly cooled.


cake7.jpg
cake7a.jpg

7.    Add the eggs one at a time, stirring until each egg is completely combined. Mixture will start to thicken.

cake8.jpg

8.    Stir in the Frangelico and then the flour.


cake9.jpg

9.    Pour the batter into a 10-inch spring form pan.


10.    Bake in 375° F oven for 20-25 minutes. The sides should be firm, but center should still have a little jiggle.


11.    Cool at least 8 hours or overnight so that the cake will set and firm up. 

12.    Before serving, dust the top of the cake with confectioner’s sugar. Sprinkle the chopped hazelnuts on top.


13.    Remove the sides of the pan, cut, and serve


TIPS & TRICKS

•    Recipe adapted from Trish Deseine.
•    Allow the cake to sit at least 8 hours, or overnight, in a cool place. The cake will firm up and have a wonderful fudge texture. 
•    Using a wooden spoon to mix the cake really helps blend in the eggs completely. Do not use a whisk because we don’t want to add any air to the batter. 
•    Substitute the Frangelico with Cointreau for a slight orange flavor. You can also garnish the cake with fresh berries and whipped cream.
•    Cake will slightly collapse and may crack as is cools. Don’t worry; confectioner’s sugar will cover it all.  

In February 2018 Class Tags Cake, Dessert, Winter, Fondant, Frangelico, Chocolate
Comment

Chocolate Tart with Peppermint

December 17, 2017 Nancy Madok
tartcovershot.jpg
tartingred.jpg

Ingredients

CRUST:
1½ cups chocolate cookie crumbs** (about 30 cookies)
6T unsalted butter, melted

FILLING:
12 oz. bittersweet chocolate, cut into pieces
2 cups heavy cream
¼ tsp. salt
2 tsp. peppermint extract
2 eggs
¼ cup crushed peppermint candy

1.    Pre-heat oven to 250° F.

tart2.jpg
tart2a.jpg

2.    Crust: In a bowl, combine the chocolate cookie crumbs and the melted butter. Stir until the mixture comes together.  Using your fingers, press the mixture into the sides then the bottom of a 10-inch removable-bottom tart pan. Set aside.

tart3.jpg

3.    Filling: Place the chocolate in a medium size bowl. Set aside. In a small saucepan, heat the heavy whipping cream until it is hot and almost boils.  Pour the hot cream over the chocolate; make sure all the chocolate is submerged. Cover with a plate or lid and let it sit for 10 minutes.


4.    Whisk vigorously until the chocolate is smooth and silky.  Add the salt and peppermint extract.

tart4.jpg

5.    In a small bowl, beat the eggs together. Add a little of the chocolate mixture to temper the eggs.


tart5.jpg

5B. Mix well, then pour the egg mixture into the chocolate mixture. Stir until combined. 

tart6.jpg

6.    Pour the mixture into the tart pan.


IMG_3841.jpg

7.    Bake for 30-35 minutes in a 250° F oven until the sides of the tart are set but the center still very jiggly.  Remove from oven and let cool completely. Place in the refrigerator and chill 3-4 hours to set. 


tart8.jpg
tart8a.jpg

8.    When ready to serve, remove tart from refrigerator 30 minutes before serving. Right before serving sprinkle the crushed candy cane on top.  Slice into slices and enjoy.

tartfinished.jpg

TIPS & TRICKS

•    **To make crumbs: place cookies in a food processor and pulse until they are the consistency of fine sand.
•    Use the bottom of a dry measuring cup to help press the cookie crumbs into the bottom of the pan. 
•    Use extract and candies made with real peppermint oil if possible for a wonderful intense peppermint flavor. If using peppermint oil start with 1 tsp. and adjust flavor as needed.
•    The center of the tart will be very jiggly when removed from oven. Do not worry it will become firm as it cools. 
•    Tart can be made 2 days. Just top with peppermint right before serving because peppermint candies will melt/dissolve. 

In December 2017 Holiday Tags Winter, Dessert, Tart, Chocolate, Peppermint
2 Comments

Chocolate Cheesecake

March 1, 2017 Nancy Madok
cheesecake cover.jpg

Ingredients

CRUST:

1½ cups chocolate cookie crumbs** (about 30 cookies)
6T unsalted butter, melted

FILLING:

24 oz. cream cheese, room temperature
1 cup granulated sugar
½ cup unsweetened cocoa powder
4 eggs
1 tsp. vanilla

TOPPING:

1 pint sour cream
2T granulated sugar
1½ tsp. vanilla

GANACHE:

4 oz. bittersweet chocolate, cut into pieces ½ cup heavy cream

1.    Pre-heat oven to 350° F.

cheesecake2.jpg

2.    Crust: In a bowl, combine the chocolate cookie crumbs and the melted butter.  Stir until the mixture comes together. 

IMG_1008.jpg

2b. Using your fingers, press the mixture into the bottom and sides of a 10-inch spring form pan.  Set aside.

cheesecake3.jpg

3.    Filling: In a large bowl, add the cream cheese and sugar; beat at medium speed until creamy and smooth.  

cheesecake4jpg.jpg

4.    Add the unsweetened cocoa power.  

cheesecake5.jpg

5.    Add the eggs one at a time, beating after each one until combined and smooth.  Add the vanilla.

cheesecake6.jpg
cheesecake6a.jpg

6.    Pour the mixture into the prepared pan and bake for 30 minutes in a 350° F oven.  Remove from oven and cool for cool 30 minutes.

7.    Topping: Re-Heat oven to 475° F.

8.    While the filling of the cheesecake is cooling, in a small bowl, combine from the “Topping” ingredients the sour cream, sugar and vanilla.  Stir until combined.

cheesecake9.jpg

9.    Place the mixture on top of the cooled cheesecake, spreading it out evenly.

10.    Place the cheesecake in the 475° F oven for 5 minutes.  Remove from the oven.

cheesecake11.jpg

11.    Ganache: In a small saucepan, heat the heavy whipping cream until it is hot and almost boils.  Pour the hot cream over the chocolate; make sure all the chocolate is submerged.  

cheesecake11a.jpg

11b. Let it sit for 10 minutes, and then whisk vigorously until the chocolate is smooth and silky.  Let the chocolate to sit a few minutes until it thickens slightly.

cheesecake12a.jpg

12.    Drizzle the ganache on the top of the cheesecake. (you might not use it all) Let cool, then place in the refrigerator for 12 hours to set and chill completely.

13.    When ready to serve, remove cheesecake from refrigerator 30 minutes before serving, slice into slices and enjoy.

cheesecake13.jpg

Tips & Tricks:

•    **To make crumbs: place cookies in a food processor and pulse until they are the consistency of fine sand
•    Don’t worry if cheesecake cracks the topping will cover it up!

Featured
Preserved Lemons
Preserved Lemons
Winter Vegetable Soup with Pistou
En Papillotes of Fish with Lemon & Greens
Chocolate Cheesecake
In March 2017 Tags Dessert, Chocolate, Cheesecake, Ganache, cream cheese, Winter
Comment

PRIVACY POLICY 2020

COPYRIGHT 2020 Cucina Casa M