• UnderConstruction
  • Home
  • Seasons
  • Classes
  • Tours
  • About
  • CONTACT
  • Menus
Menu

Cucina Casa M

Street Address
City, State, Zip
Phone Number

Your Custom Text Here

Cucina Casa M

  • UnderConstruction
  • Home
  • Seasons
  • Classes
  • Tours
  • About
  • CONTACT
  • Menus

Apples, Greens & Goat Cheese Salad

February 13, 2018 Nancy Madok
salad cover.jpg

Ingredients

Salad:
3 medium beets (red or golden)
2 medium apples (any variety) cored and sliced into ¼ julienne slices
10 handfuls of salad greens (spinach, arugula, and romaine) washed and torn into bite-sized pieces
1 head radicchio, washed and torn into bite-sized pieces

Honey Vinaigrette:
2T honey
4T Champagne vinegar
½ cup extra virgin olive oil
Salt and pepper
8 oz. goat cheese, room temperature
16 slices of baguette

1.    Preheat oven 400º F.

salad#2a.jpg

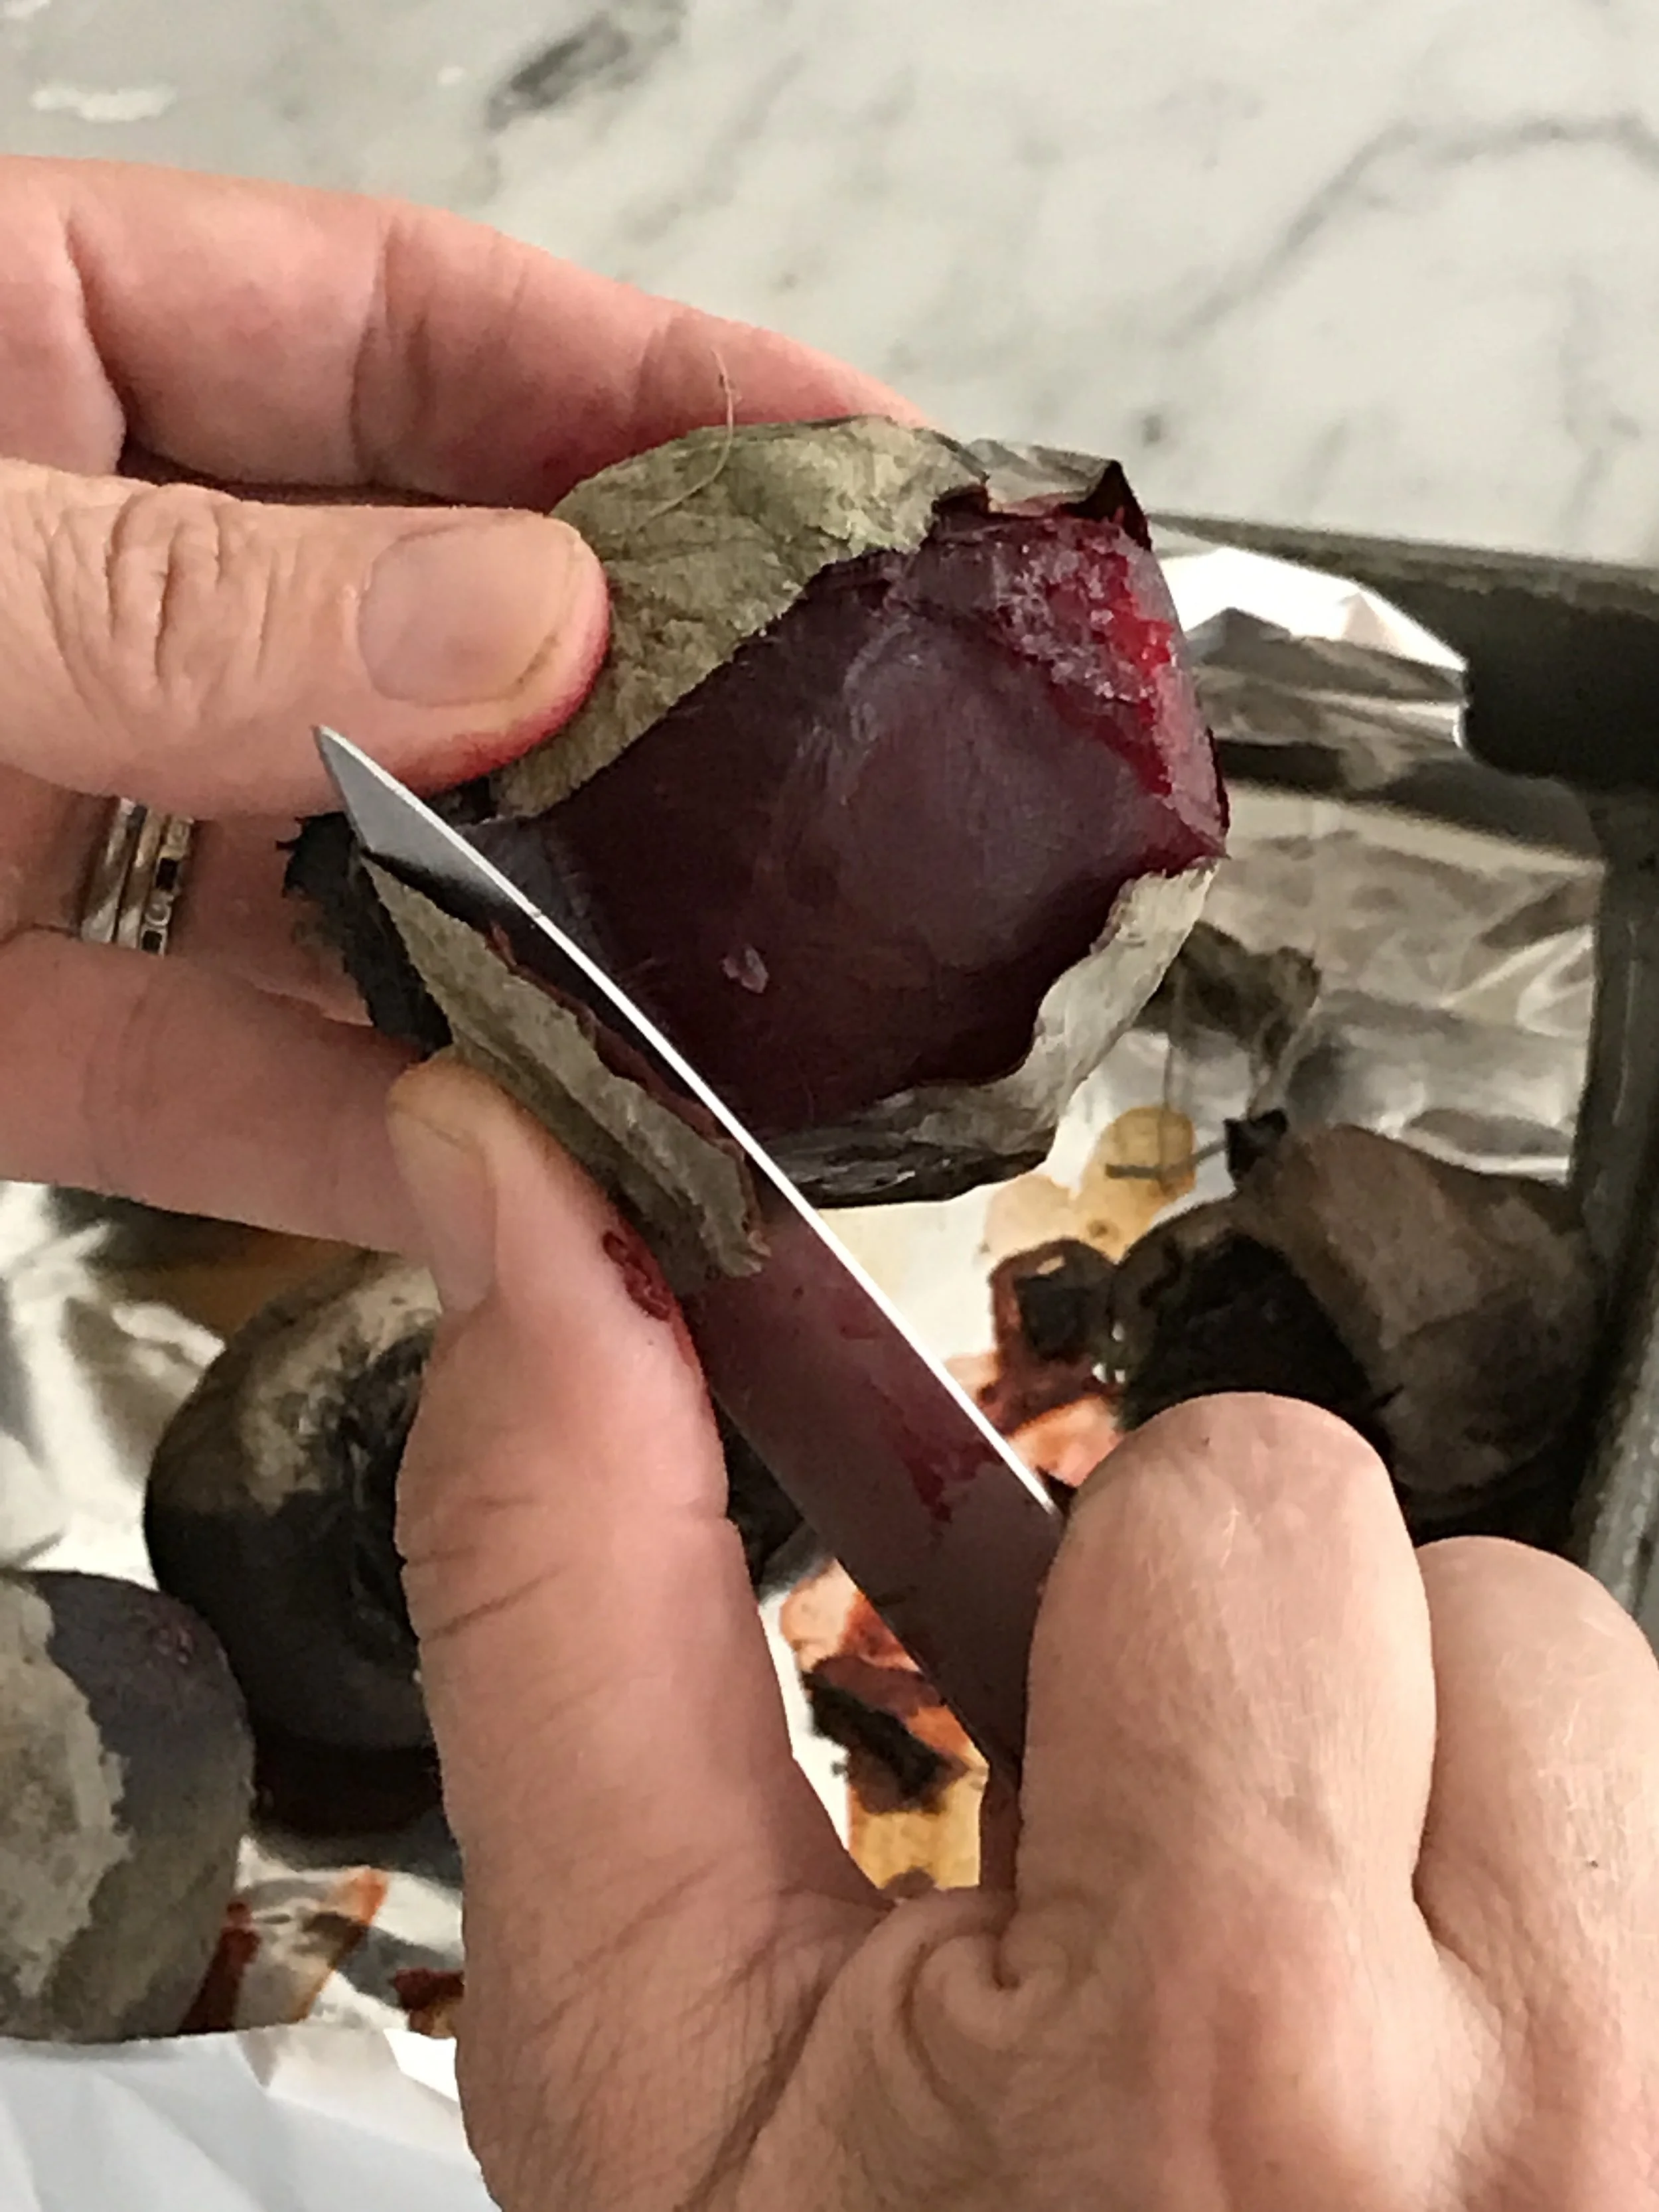
2.    Beets: Remove stems from and wash the beets. Place on a baking sheet lined with foil. Roast for approximately 1 hour, or until beets are easily pierced with a knife. When beets are cool enough to handle, peel and slice into ¼ inch julienne slices.


salad#3b.jpg

3.    Vinaigrette: In a medium bowl, whisk together the honey and vinegar.  Slowly add the olive oil in a steady stream, whisking constantly until emulsified. Season with salt and pepper.


salad#4.jpg

4.    Crouton: Spread the goat cheese onto the baguettes slices. Place on a baking sheet and place in 400º F oven for 6-8 minutes, or until bubbly and brown. 

5.    Salad: In a large bowl, toss the beets, apples, salad greens, and radicchio with a little of the vinaigrette. You want the salad to be dressed, not drowned. Add more vinaigrette if necessary. Adjust seasoning. 


6.    Place on a platter or salad plates. Top with goat cheese croutons and serve immediately.


salad#6.jpg
In January 2018 Class Tags Salad, appetizer, Winter, Apple, Goat Cheese, Beets, Honey Vinaigrette
Comment

Coq au Vin with Mashed Potatoes

February 13, 2018 Nancy Madok
coq cover.jpg
coq ingred.jpg

Ingredients

Coq au Vin Ingredients

8-10 pieces chicken, or 1 whole 4-pound chicken cut into parts
3 cups red wine
3-4 thyme springs
2 bay leaves

¼ pound lardons or thickly sliced bacon, sliced into ¼ inch wide slices
½ pound mushrooms, washed and sliced
20 pearl onions, peeled or 1 cup frozen
1-cup chicken stock
3 cloves garlic crushed
Salt & pepper

3T butter room temperature
3T all-purpose flour

3pounds Yukon Gold potatoes
5T unsalted butter


Mashed Potatoes Ingredients

3 pounds Yukon Gold potatoes, peeled and cut into cubes
5T unsalted butter
Salt and pepper

coq#1.jpg

1.    Place the chicken in a bowl or zip lock bag. Add the wine, thyme, and bay leaves. Place in the refrigerator and marinate for least 2 hours, but overnight is better.

2.    Pre-heat oven to 350º F.

coq#3.jpg

3.    In a Dutch oven or deep pan with a lid, over medium-high heat, sauté the bacon until crisp for about 5 minutes. Using a slotted spoon, remove from the pan and set aside.


4.    Add the mushroom slices to the pan. Sauté until golden brown, about 5-6 minutes. Using a slotted spoon, remove from the pan and set aside.


coq#5a.jpg

5.    Remove the chicken from the wine. Reserve the wine and herbs. Pat the chicken dry. Season with salt and pepper.


6.    Workings in batches, add the chicken pieces, skin side down, to the pan. Make sure to not overcrowd the pan. Sauté chicken until golden brown, about 4-5 minutes. Turn the chicken and repeat on the other side. Remove from pan. Repeat with remaining chicken pieces. Pour off any extra fat.


7.    Add the wine and stock to the pot. Deglaze the pan by scraping up all the little brown bits from the bottom of the pan. Bring the liquid to a boil.


coq#8.jpg

8.    Then add the garlic, bacon, mushrooms, onions, and chicken pieces back to the pan. Cover pan with a lid and place in a 350º F oven for 40-45 minutes until chicken is cooked. If using chicken breasts, add them to the pot after cooking the dark meat for 20 minutes in the oven.


coq#9.jpg

9.    In a small bowl, mix the butter and flour. Using a spoon or your finger, mix until it forms a paste. Set aside.

coq#10.jpg

10.    Remove the chicken to a platter. Set aside. Remove the thyme and bay leaves. Discard the herbs.


11.    Pour the sauce thought a strainer into a fat separator. Set the vegetables/bacon aside.

12.    Let the sauce sit about 5 minutes to allow the fat to rise to the top. Pour the defatted sauce back into the pan. Remember pan is hot!!!


coq#13.jpg

13.    Place the pan on the stove on medium-high heat and bring to a boil. Then, slowly whisk the flour paste into the sauce a little at a time. Cook until slightly thickened, about 4-6 minutes. Adjust the seasoning.


coq#14.jpg

14.    Return the chicken and vegetables/bacon to the pan to warm. Serve over mashed potatoes. 


Mashed Potatoes Recipe

1.    Place potatoes in a pot filled with water and bring to a boil. Cook until tender, about 20 minutes. Drain the potatoes and reserve 1 cup of the cooking liquid.


coq-pot#2.jpg

2.    Place potatoes back into pot and mash. Add butter and ½ of the cooking liquid. If too thick, add the reserved liquid. Season with salt and pepper.


TIPS & TRICKS

•    Traditionally, this dish is prepared with a whole rooster/chicken. You can use a whole chicken cut into pieces. I like to use bone in, skin on thigh meat. It makes for easy serving. Cooking chicken with the bone in and skin on helps protect the meat from drying out and adds loads of flavor. Your guest can simply remove the skin before eating if they wish. 
•    Marinating the chicken in wine overnight makes the chicken more flavorful. 
•    This dish is best made the day ahead, as the flavors improve with time.
•    I like to use Yukon gold potatoes with this dish because they are so buttery and dense, and they hold up very well to the chicken and sauce. 

In January 2018 Class Tags Chicken, Main, Coq au Vin, Potatoes, Red Wine, Thyme, Winter
Comment

Pear Tarte Tatin

February 13, 2018 Nancy Madok
tart cover.jpg
tart ingred..jpg

Ingredients

6-7 pears (Anjou, Bosc, or Comic) ripe, but firm
1 sheet puff pastry, defrosted
Flour for dusting
4T salted butter
¾ cup granulated sugar
Vanilla ice cream


1.    Pre-heat oven to 400° F.

tart #2.jpg

2.    Peel, core, and then cut 6 of the pears into quarters. Set aside. It’s ok if they get brown (There’s an extra if one is bruised or mushy).

3.    On your kitchen counter, roll out the puff pastry into an 11x11 inch square.


tart #4.jpg

4.    Cut off the corners to make an 11-inch circle (I use a dinner plate as a guide).

Tart#5.jpg

5.    Place pastry on a parchment-lined baking sheet and refrigerate for 30 minutes.


Tart#6.jpg
Tart#6b.jpg

6.    Place a 10-inch frying pan over medium heat. Melt the butter, and then add the sugar. Stir until the mixture becomes a light caramel color, about 6-8 minutes. The mixture might become grainy and the butter may separate, but don’t worry. It will all come together in the end.

tart#7.jpg

7.    Remove from heat and arrange the pears on their flat side into a tight circular design. Place 2-3 pear pieces into to the middle of the pan and place the remaining pears on top. Use fork to help stabilize the pears as you place them. Be careful: the caramel is hot!!!!


tart#8.jpg
tart#8a.jpg

8.    Return the pan to the stove. Turn the heat up to medium-high and continue cooking until the caramel thickens and turns a deep golden amber color, about 8-10 minutes. (Spooning the caramel on top of the pears is a good way to check that the caramel is browning but not burning). Remove from the heat. Let cool at least 30 minutes, but the longer the better.


9.    Remove the chilled dough from the refrigerator and carefully place the dough in the pan, pressing the dough down on top of the pears.

10.    Fold the edges under the pears and press down.


11.    Place in 400˚ F oven and bake for 30-35 minutes or until golden brown. Check after 20 minutes. If pastry is browning too quickly, loosely place a piece of aluminum foil on top.

tart#12jpg.jpg

12.    Remove the tart from oven. The tart will be very juicy. Using a paper towel, so you don’t burn your hand, gently press on the dough to hold the tart in the pan.


tart#12.jpg

13.    Then, carefully pour the juice into a small saucepan (I place the saucepan in the sink so that gravity is working with me).

tart#14.jpg
tart#14a.jpg

14.    Let the tart cool for 20 minutes before carefully flipping the tart onto a serving dish.


tart#15.jpg

15.    Place the small saucepan back on the heat and boil down the juice until it forms a thick caramel syrup, about 2-3 minutes. Pour on top of the tart.


16.    Cut into slices and serve warm with vanilla ice cream.

tart#16.jpg

TIPS & TRICKS

•    Pears are picked unripened and shipped to stores. Pears take 3-5 days to ripen, so you need to plan ahead to make this dish. Test the pears by gently pressing near the stem. If it gives slightly, the pears are ripe, but still firm, which is perfect for this dish. 
•    Plan on an extra pear in case one of the pears is too soft or bruised inside to use. 
•    When making the caramel, do not multitask! ☺ It is very hot and you can burn yourself very badly (Speaking from experience!!).
•    Caramel is very temperamental. Weather, temperature, and humidity can affect it. If the caramel should separate or become grainy, do not worry. Once you add the pears and boil the caramel it will become smooth.
•    By allowing the pan and caramel to cool before placing the pastry on top, the pastry will be puffier after it is baked. 
•    The tart can be made up to step 8 early in the day and baked off later. 

In January 2018 Class Tags Winter, Dessert, pears, tarte, Puff Pastry, vanilla ice cream
Comment

PRIVACY POLICY 2020

COPYRIGHT 2020 Cucina Casa M